How to create an Automated Email for when a Record is Created
Accessing Triggers #
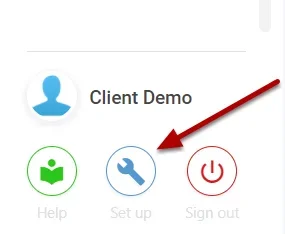
Navigate to Setup by selecting the spanner at the bottom left.
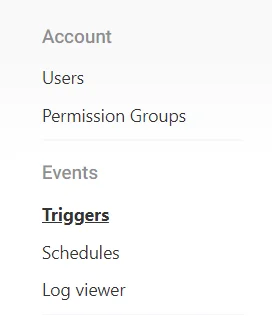
Select Triggers,
Select the plus icon to create a new trigger,

Trigger Details Explanation #
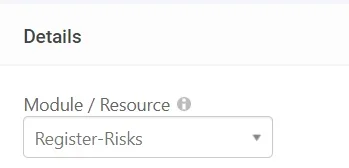
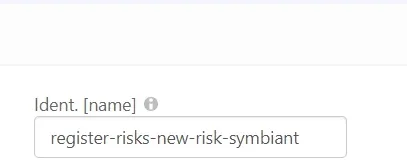
The below image describes the basic details a trigger requires.

Select Module: Relates to the Module you wish to use for the Automated Email, (e.g. When a new risk is created will need the trigger to have Register Risks Module selected, a new control would need the Controls module selected)
Select Operation: Operations relate to HOW the trigger gets fired.
- Create: When a new record is created
- Update: When a record is updated normally filtered by some specified criteria
- Delete: When a record is deleted

Select Name the Trigger, for this we use the standard naming convention of Module Name – What is occurring – Company name.
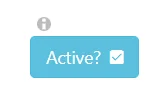
Finally set the trigger as Active this ensures that once saved the trigger will be running.
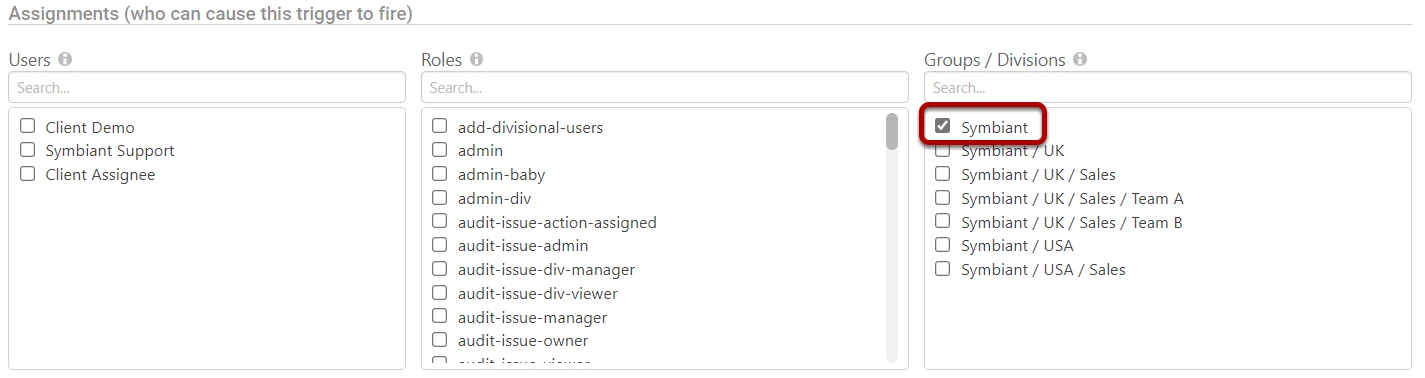
Trigger Assignment #
The assignment of a trigger IS WHO can cause this trigger to fire NOT who it is sent to. In the above example, any user within the Root division of Symbiant will fire the trigger and as every user will be within Symbiant or its subsidiary divisions, all users will be able to fire the trigger.
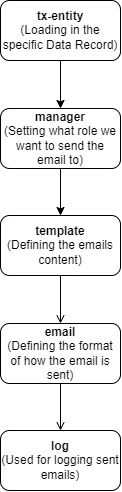
The Function Chain #
Below is a chart explaining the flow of the Function Chain we will make,
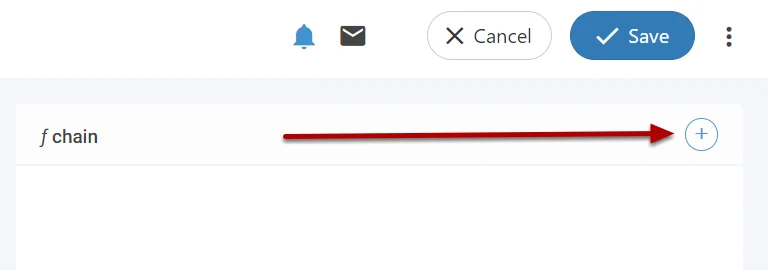
Adding Interceptors #
To add an interceptor navigate to the plus and the top right of the Function Chain,
Tx-Entity Interceptor #
First, we need to add the tx-entity interceptor onto the function chain. The entity is the record that is being affected, either being created, updated or deleted.
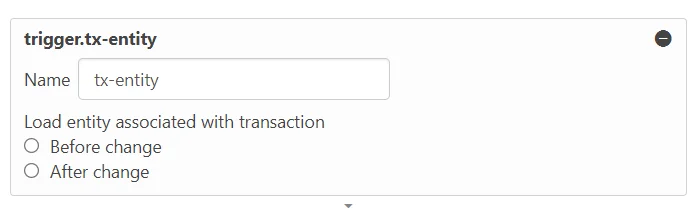
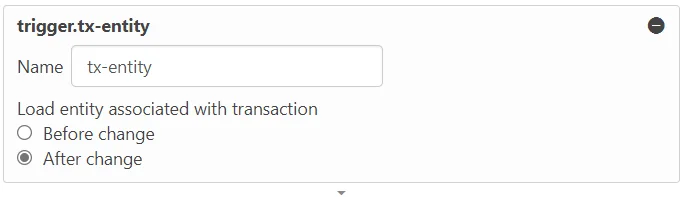
The entity (Record) can be loaded Before Change (Loads how the record data BEFORE any change occurred) OR can be loaded After Change (Loads how the record is AFTER the change occurred),
As we are demonstrating creating new risk, we will select After Change as the record doesn’t currently exist.
Manager Interceptor #
Next, we add a manager interceptor, this allows you to select a certain Role to send the Email to,
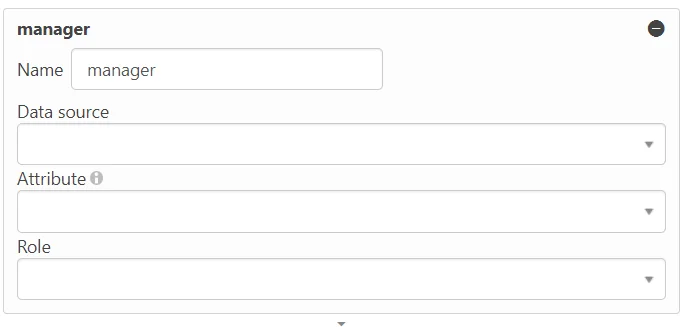
(Note: Manager interceptor is normally used to send emails to Module Admins and Managers. Record owners and assignees don’t need a manager interceptor.)
Configuring the Manager Interceptor #
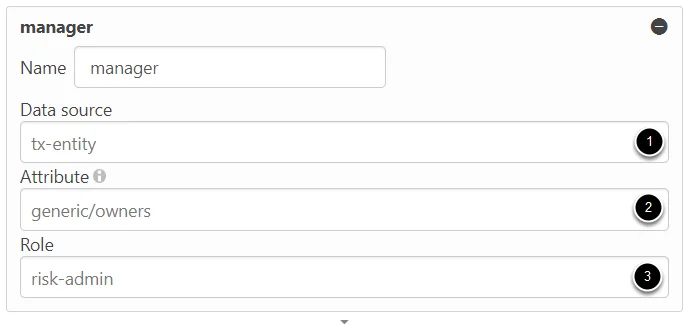
Next, we need to configure the interceptor, select the data source, what attributes to search for a certain role on and then the actual role to be sending the email to,
- Data Source: Interceptors are hierarchical so they consume interceptors above them as you go down the Function Chain, as the manager is below tx-entity it will consume it via the Data Source option.
- Attribute: This is the field we search on to then find the specific Role, this will normally be the Owners field, but you can search for a Role on any user field.
- Role: This is where we select which role to send our email to. (You can have multiple manager interceptors, to send to multiple roles)
- (Critical Note: Do not set the Role as ADMIN instead set it as the module_admin and set any Admin accounts with that role)
Template Interceptor #
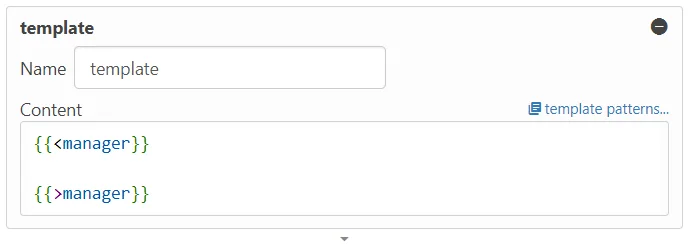
The template is the critical section of your Automated Email where we define the content of the email, set up who the email gets sent to and any record data we would like to include,
![]()
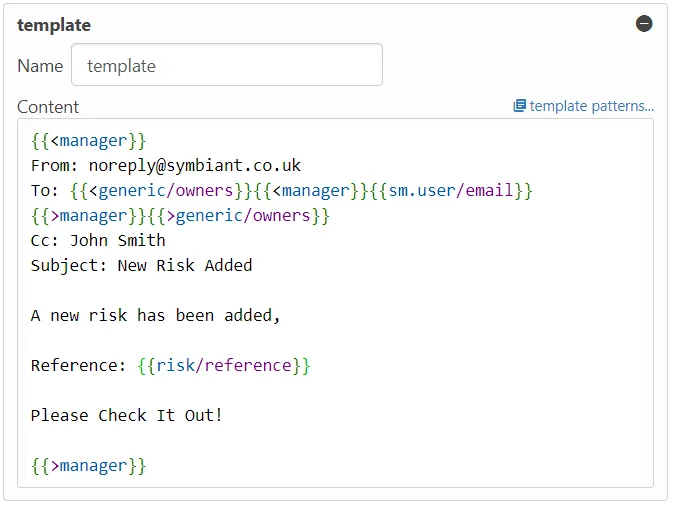
First, we define the last Data Source in the Function Chain, (In this example that is the manager)
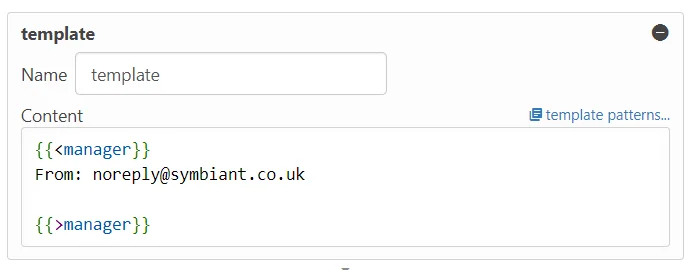
Next, we define who the email is from, you can use a users email, but its best practice to use the noreply@symbiant.co.uk
Setting up who to send to #
Next, we set who we are sending the email to, this can include;
- Valid Users names within the system (e.g. John Smith)
- Valid Emails (e.g. johnsmith@gmail.com)
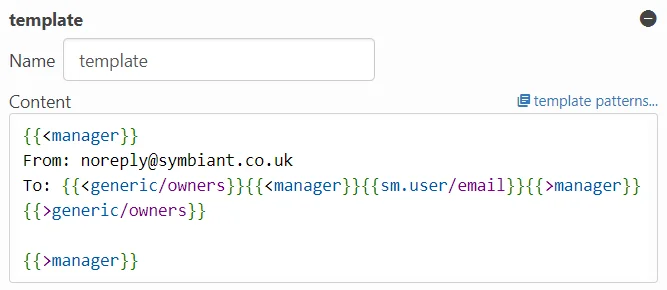
- Coded Emails Senders (e.g. {{<generic/owners}}{{sm.user/email}}{{>generic/owners}} Sends to the owner of the record,
Below is an example of multiple ways to select who to email,
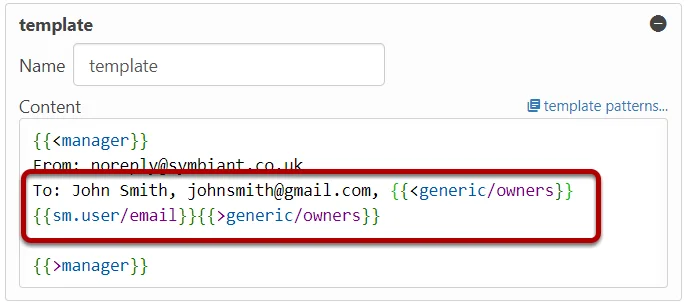
As we are using a manager interceptor, and want to send an email to every Risk Admin when a new risk has been created we shall use the below-coded email sender to do this.
Coding Explanation #
{{<generic/owners}} – Open tag denoted by “<” we are setting which attribute to search a user on
{{<manager}} – Open tag denoted by “<” we are setting that we are using the manager interceptor to find the role
{{sm.user/email}} – System code to pick out a user accounts email
{{>manager}} – Close tag denoted by “>”
{{>generic/owners}} – Close tag denoted by “>”
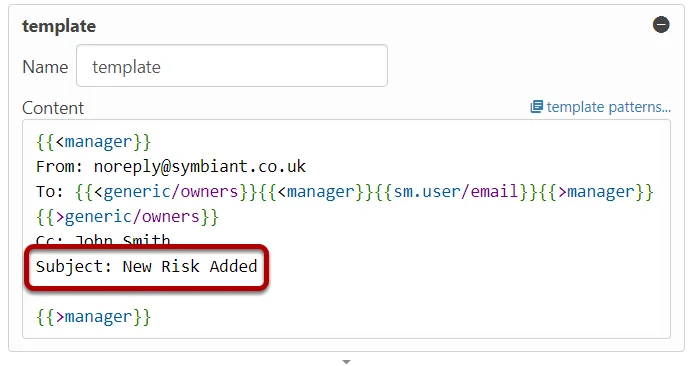
Adding a Cc #
You can also add other users on the Cc line, again using the same logic as before.

Adding a Subject #
Next, add a subject for your email, this can be whatever you wish,
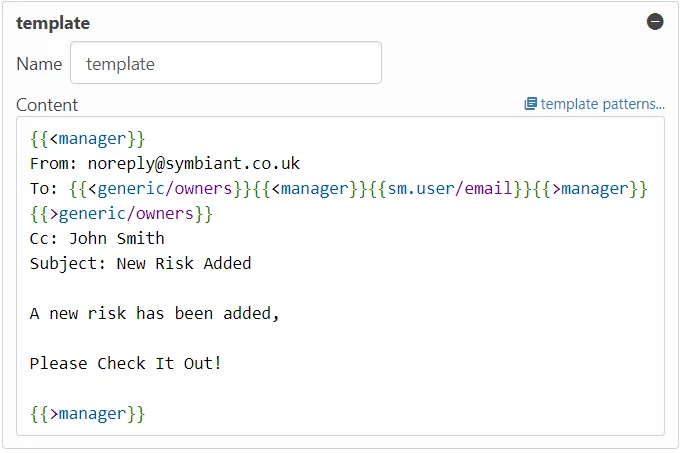
Add Content #
Next, add the content of the email, again this can whatever you choose,
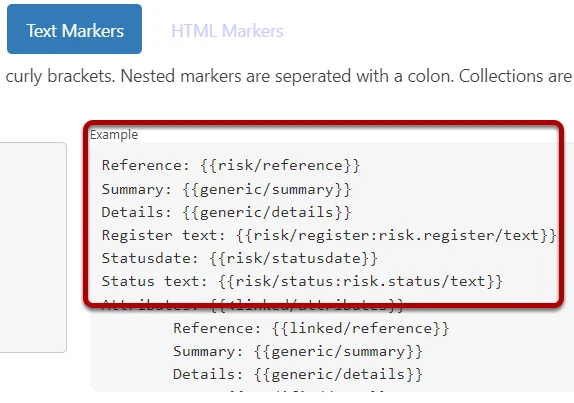
Adding Record Data #
To add record data, select the Template Patterns from the top right of the template,

Select Text Markers from the top menu, here you can see attributes that relate to the selected Module, simply copy and paste these onto your email,
We now have the reference of the newly created risk in our template, (Shown Below)
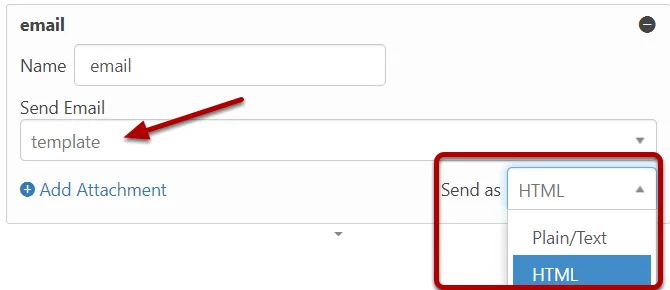
Adding the Email Interceptor #
Next, add the Email interceptor, select the Template and what format to send the email as, either Plain Text OR HTML.
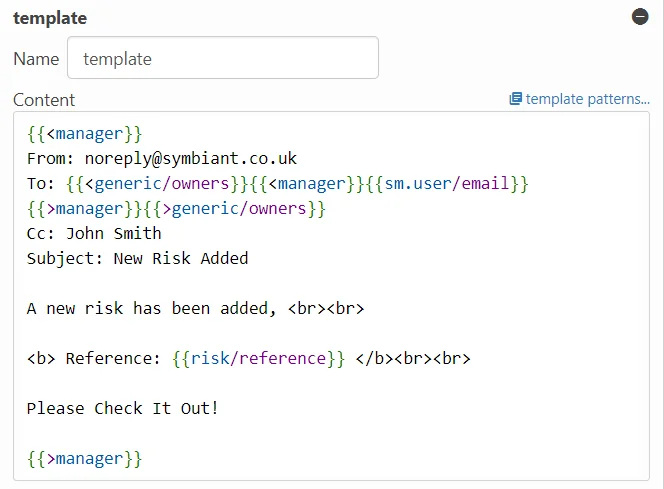
HTML Formatting #
If you select to send your email as HTML, you can then use HTML tags to format the email further,
Such as adding line breaks with <br> and Bold Text with <b>Text</b>
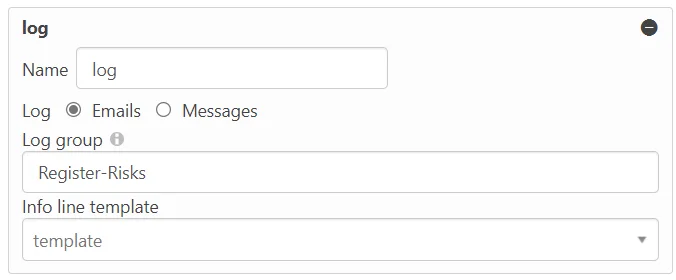
Adding a Log #
Finally, we can add the Log interceptor which will store the email in the log viewer, name the Log Group to be the Module you selected at the beginning and select the template once again.
(Critical Note: Ensure there are NO spaces between words, instead use a dash (-) as shown below)
Once you have completed your trigger, remember to save from the top right.

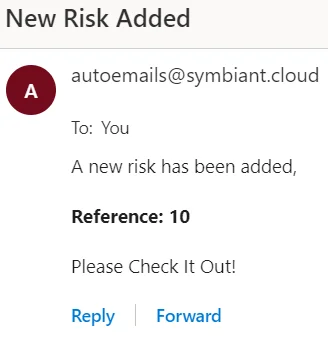
Testing your trigger #
To test your trigger simply complete the chosen action which should fire it off, in this example creating a new risk. An email shall be sent and a log created (Accessible from the log viewer in Set-Up mode).