
 Doc Summary

Once your divisions are in place, the next step is to add user accounts for your staff. This article shows how to add a user, give them a role and a division, and what the new user receives.
Note: Applies to: system administrators (admin role). Create your divisions first: see Creating/Adding Divisions.
Opening Users #
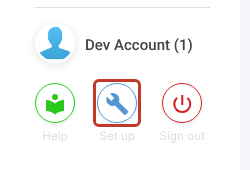
- Click the Set up spanner at the bottom left.
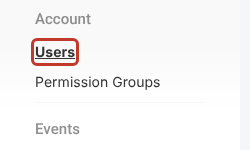
- Select Users.
Checking Your Licence Seats #
The seat counter at the top right shows the seats in use and the seats on your licence (for example 1/2). Only active users use a seat. If every seat is in use, you can still create the user as inactive, or free a seat by deactivating someone. See What are License Seats?.
Adding a User #
- Click + at the top right.
- Fill in the Details: – Name: the display name everyone will see. Don’t use commas, they break email notifications. (Required) – Email: the address the user signs in with and receives emails at. (Required) – Locale: the user’s language pack, for example en-GB. – Active?: ticked means the user can sign in and uses a seat. New users are active by default.

- Optionally fill in About: First Name, Middle Name, Last Name, Phone Number (needed only for SMS-based multi-factor authentication) and Time Zone.
Critical: If your site uses single sign-on (SAML), the email must match the user’s email in your directory exactly, including capital letters. [email protected] and [email protected] are different logins. See Enabling SAML for Users in Symbiant.
Assigning a Role #
Every user needs at least one role. Type in the Roles search box to filter the list (for example risk_) and tick the role. Ticked roles move to the top of the list.
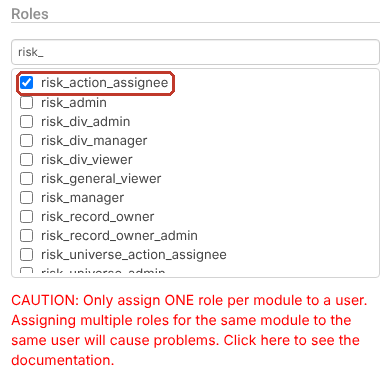
- Give one role per module. Two roles for the same module (for example
risk_adminandrisk_action_assignee) collide and the lower one restricts the user. - If you’re not sure what someone needs, a module’s
_action_assigneerole (for examplerisk_action_assignee) is a safe starting point.
More detail: Assigning Roles and Divisions and User Roles Reference.
Assigning a Division #
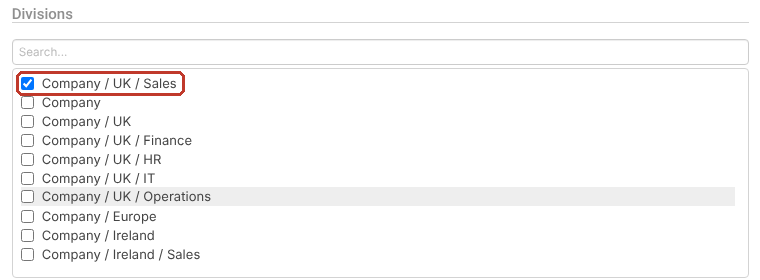
Every user needs at least one division. Tick the highest division the user needs: they will see that division and everything below it, never above (when they have a divisional role).
Saving the User #
Click Save at the top right.
The Activation Email #
When you save a new user, Symbiant emails them straight away with:
- their account email,
- a link to your Symbiant site,
- a temporary password.
Critical: The temporary password expires after a short time. Ask the user to sign in soon and to check their spam folder. If it expires, use Resetting a User’s Password.
Tip: Creating a user with Active? unticked still creates the account and sends the email, but the user can’t sign in until you activate them. See Making a User Active/Inactive.