
 Doc Summary

Once single sign-on has been set up for your system, you turn it on for each user. They can then sign in with your company account instead of an email address and password.
Note: The SAML? option only appears on users once Symbiant Support has finished setting up single sign-on for your system. See Setting up SAML SSO with Azure. The SAML screenshots below are from an earlier version of Symbiant.
Opening the User #
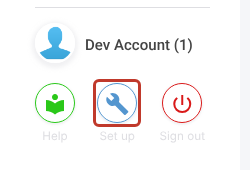
- Click the spanner (Set up) at the bottom left.
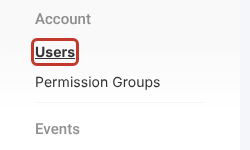
- Click Users.
- Click the user’s name to open them.

Turning On Single Sign-On #
- Tick SAML? on the right of the user’s details.
- Click Save at the top right.

- A warning reminds you that the email address must match your directory exactly, including upper and lower case. Check it, then confirm.

The user can now sign in with the single sign-on option on the sign-in page, instead of their email address and password.

Turning Off Single Sign-On #
The most common single sign-on problem is an email address that doesn’t match the directory exactly (for example a capital letter in one but not the other). To fix it, turn single sign-on off, correct the email, then turn it back on.
- Open the user as above.
- Untick SAML?.
- Correct the Email if needed, then click Save.
- Tick SAML? again and save.
Important: While SAML? is unticked, the user can’t sign in with single sign-on.