
 Doc Summary

The risk heat map (risk matrix) on the Risk Registers dashboard shows where your risks sit by impact and likelihood. This article explains how to read it and how admins can change what it shows.
Applies to: All risk users (reading); risk admins and system admins (set up) · Module: Register Risks
Reading the Heat Map #
The Risk Registers dashboard has two maps by default: Risk Map, which plots each risk, and Risk Map (Residual Count), which shows how many risks have their residual score in each square.
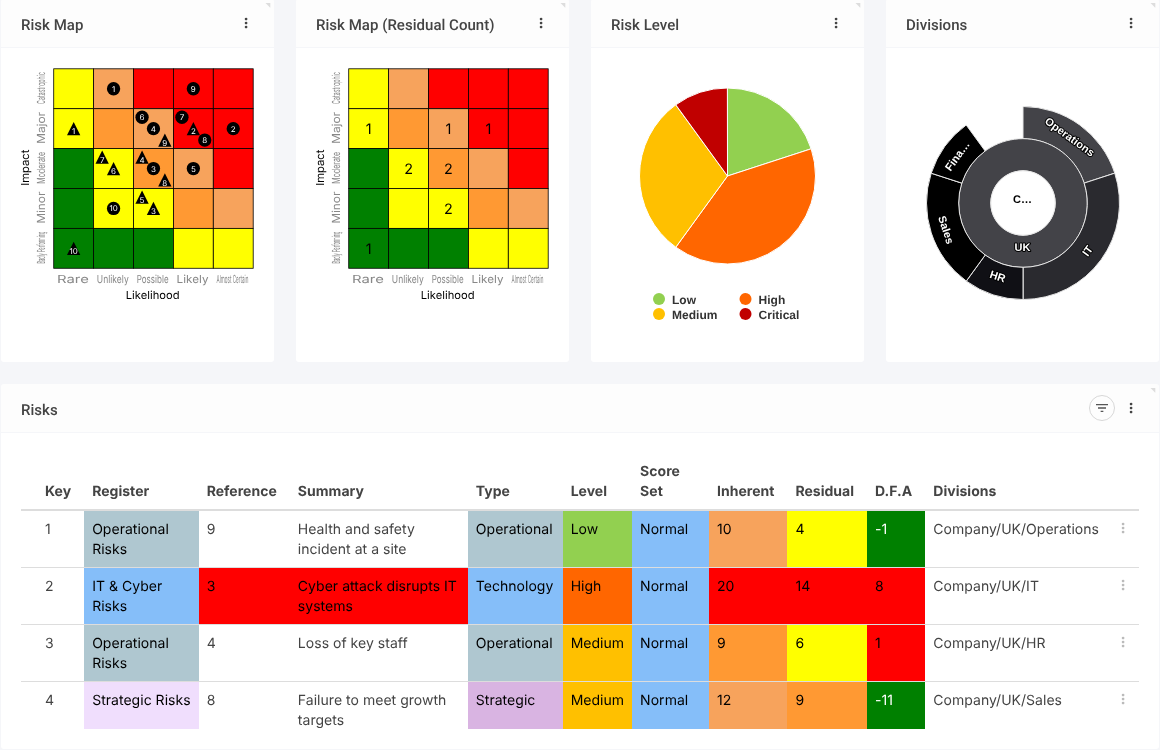
On the Risk Map, a circle marks a risk’s inherent score and a triangle its residual score. The number on each marker is the risk’s Key in the grid below the charts, not its reference. Keys are renumbered whenever you filter the dashboard, so they always match the rows on screen.
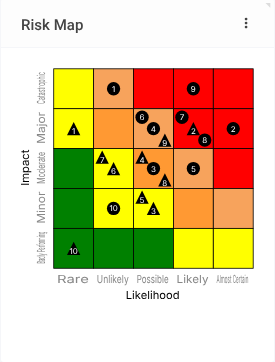
The Residual Count map shows the number of risks in each square.
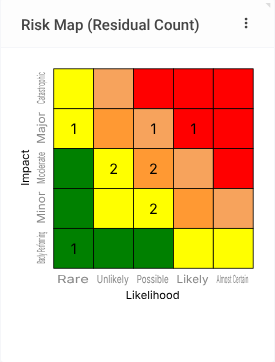
The size of the grid, the axis names (for example Rare to Almost Certain) and the square colours all come from the risk’s Score Set. See Modifying a Risk Score Set.
Note: If the map shows “Cannot ascertain scoring set!”, the risks on screen use more than one Score Set. Filter the dashboard (for example by register) so only one Score Set is shown.
Changing What the Map Shows (Admins) #
Select the three dots (⋮) at the top right of the map, then Set up….
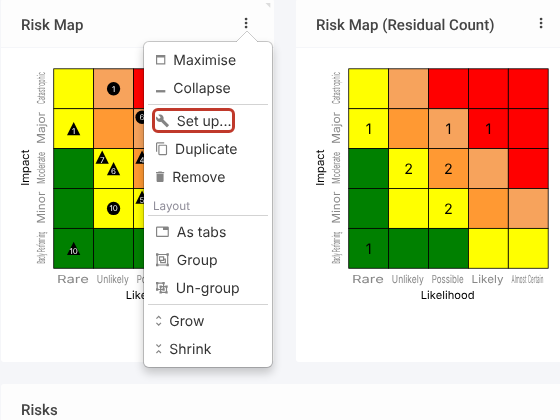
The set-up window shows the map’s settings. The caption sets the title.
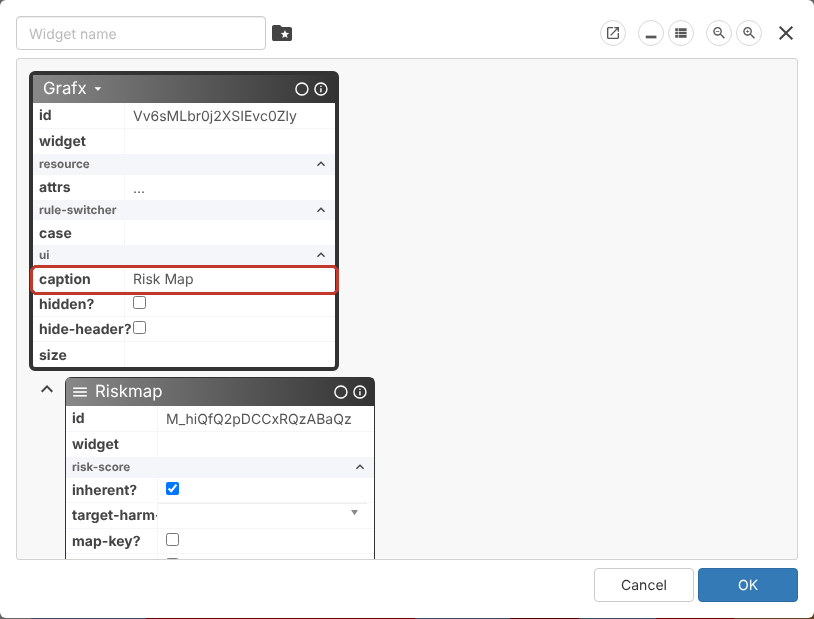
Under Riskmap, tick or untick the score types to plot: inherent?, residual? and target? (plus average and harm variants), and choose a colour for each. Other settings include map-key? (show the key numbers), legend? and lines?, label-x and label-y (show values or names on the axes) and caption-x and caption-y (override the axis titles from the Score Set).
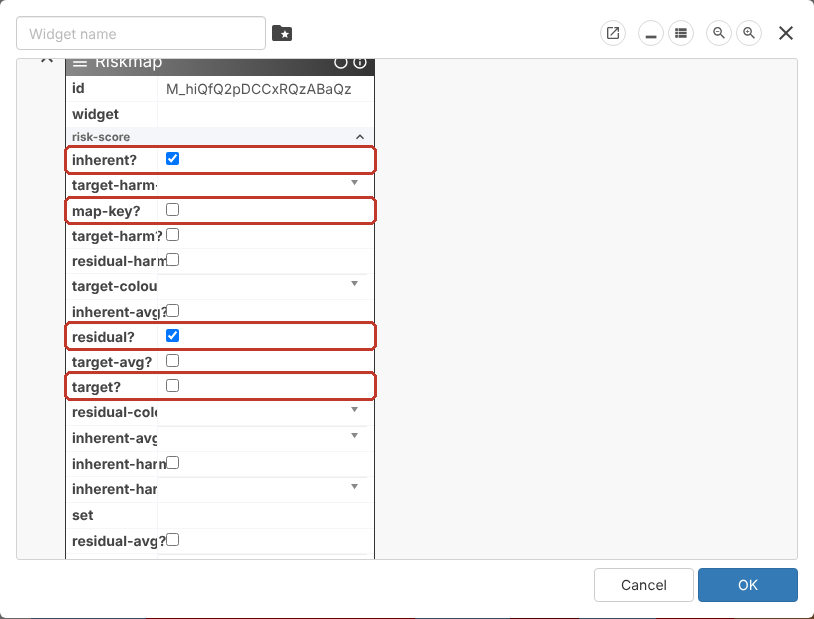
Select OK to apply the changes, or Cancel to leave without changing anything.
Saving the Map for Everyone (Admins) #
Changes made through Set up… only last until you leave the page unless you save the view. To keep them, select the three dots (⋮) at the top right of the page, then Admin > Save, and choose your company-specific view (never a generic view). Then sign out and back in to clear the view cache. See Creating Your Own Custom Views.
Critical: Saving a view changes the dashboard for every user assigned to that view.