
 Doc Summary

Linking risks to an incident shows which risks the incident relates to, so you can see the incidents behind a risk and spot patterns. You can link as many risks as you need.
Note: Applies to: users who can edit the incident. You also need at least read access to Risks to see the risks to pick from.
Opening the Incident #
- Select Incidents in the left menu.
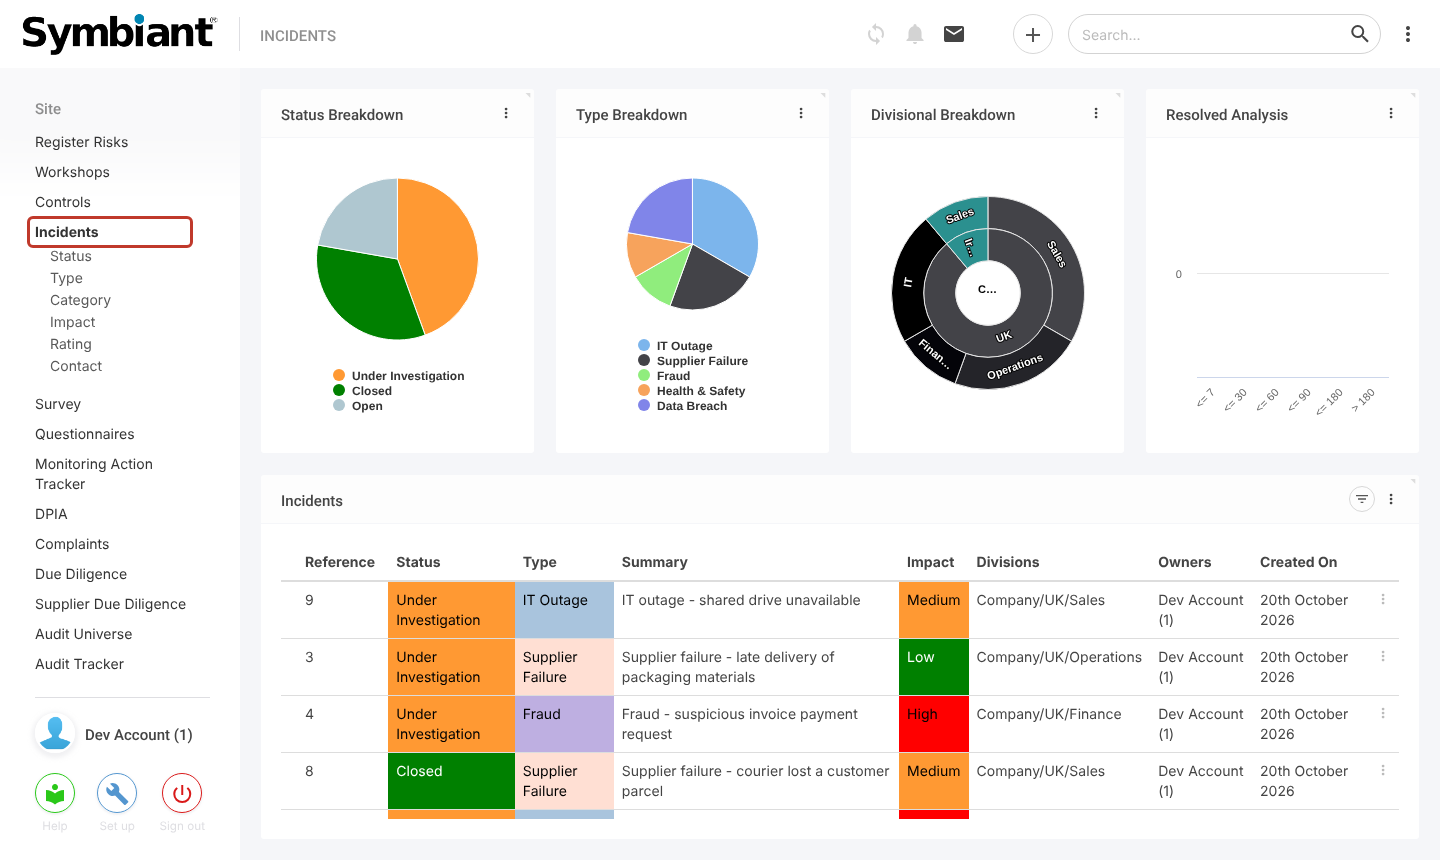
- Click the incident in the list.
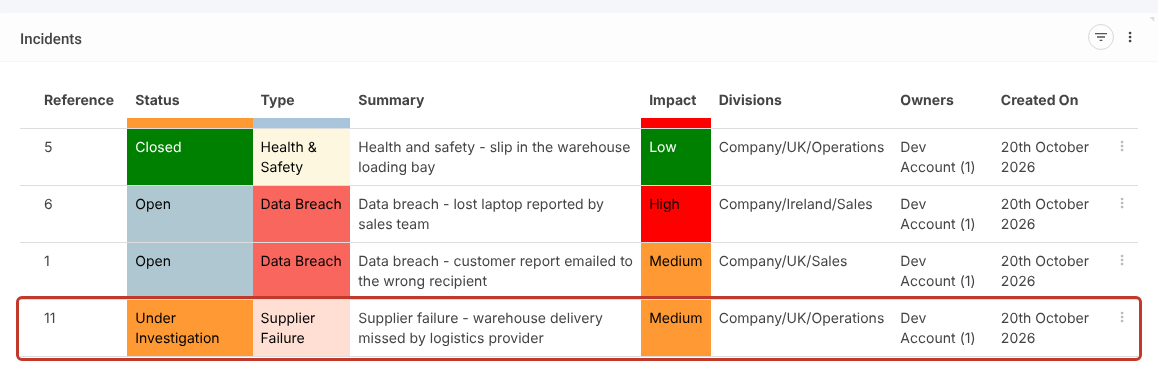
Linking a Risk #
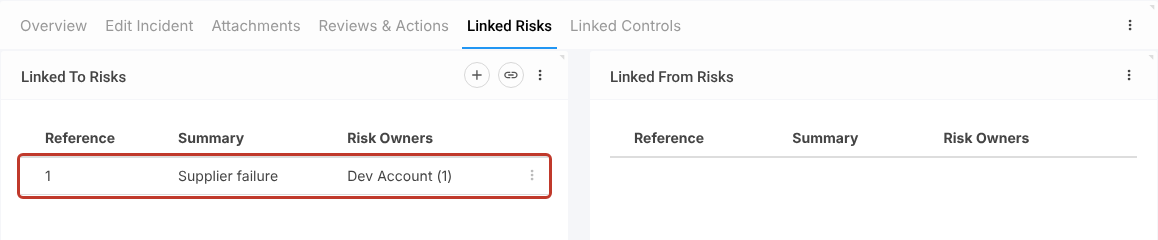
- Select the Linked Risks tab.

- In the Linked To Risks grid, click the link icon (the chain) at the top right.

- Click each risk you want to link. Selected risks are highlighted in blue. Use the search box to find a risk quickly.
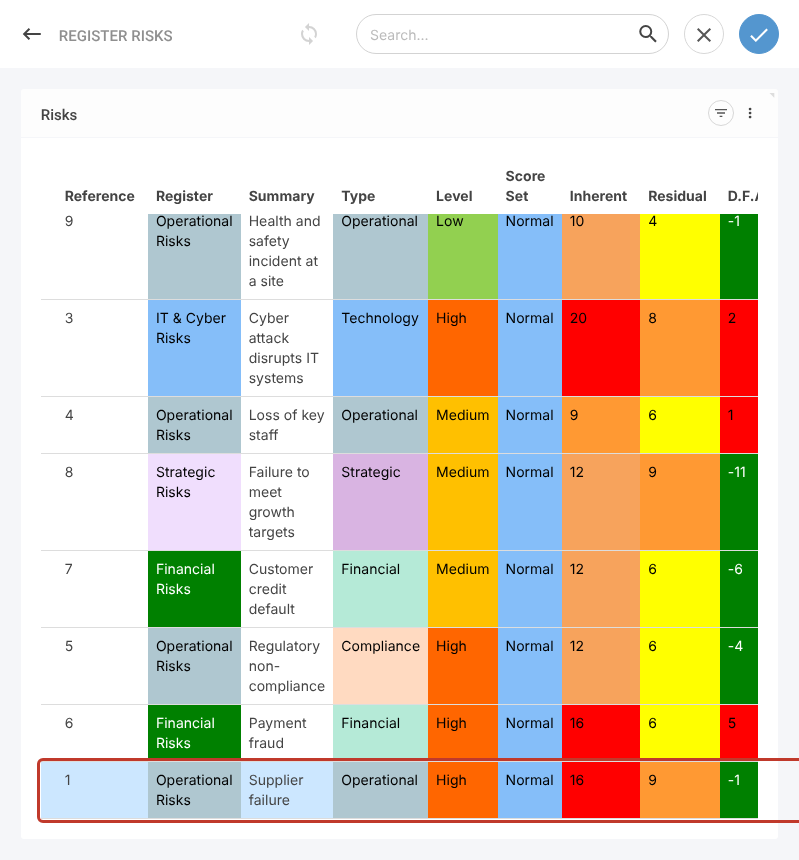
- Click the blue tick at the top right to add the selected risks.

The risks now appear in the Linked To Risks grid.
Note: If you close the picker with the X instead, Symbiant asks whether to assign the selected items. Choose Yes, assign to link them or No, ignore to discard the selection.
The Linked From Risks grid on the right lists risks that link to this incident from the risk’s side. It is read-only here.
Saving the Links #
- Click Save to save and close, or the pencil icon (Save and Edit) to save and stay on the incident.

Tip: To remove a link, use the row’s three dots (⋮) in the Linked To Risks grid and choose Delete, then save. This removes the link only; the risk itself is not deleted.