
 Doc Summary

How to build a risk bow tie: the causes on one side, the consequences on the other, and the controls in between. Requires the Controls module.
Applies to: Users who can edit the risk · Module: Register Risks and Controls
How the Bow Tie Works #
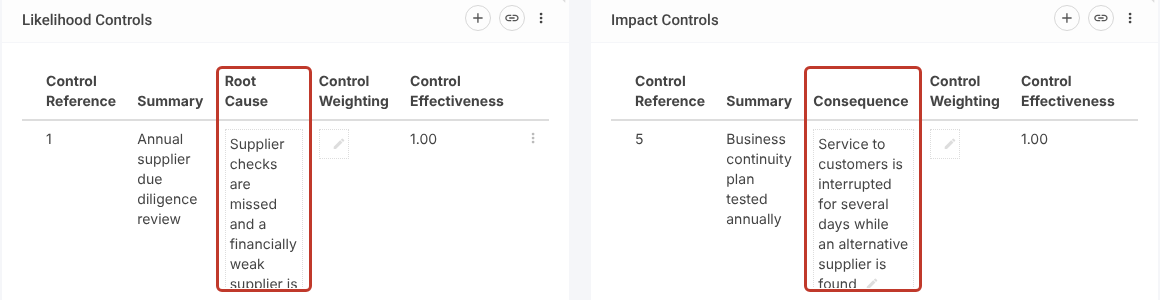
On a risk’s Controls tab, Likelihood Controls are the preventive side of the bow tie: each has a Root Cause that the control stops. Impact Controls are the other side: each has a Consequence that the control limits if the risk happens.
Linking Likelihood Controls #
Open the risk and stay on the Controls tab. Select the link icon on Likelihood Controls, select the controls and select the blue tick. See Attaching a Control to a Risk for the full steps.

Linking Impact Controls #
Select the link icon on Impact Controls.

Select the controls that limit the impact (use the search box to find them), then select the blue tick.
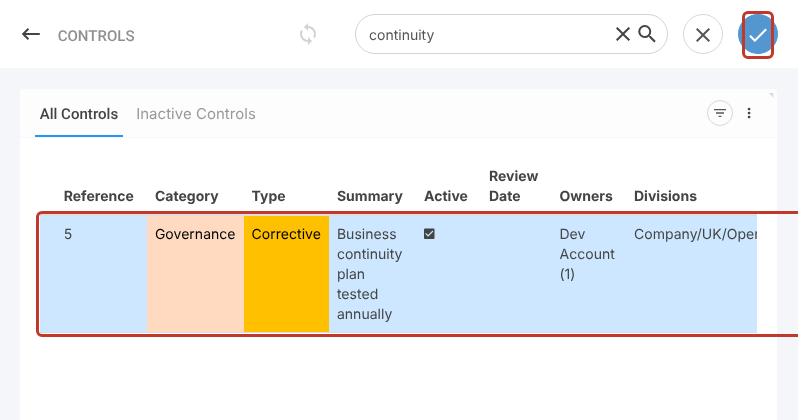
Adding a Root Cause #
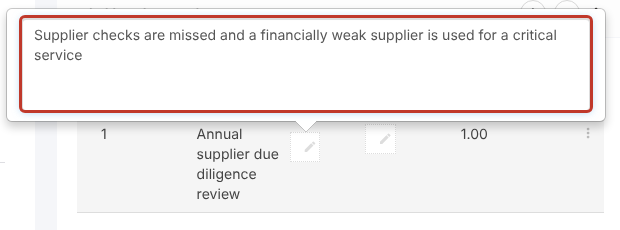
Select the pencil in the Root Cause column of a likelihood control and describe the cause the control prevents.
Adding a Consequence #
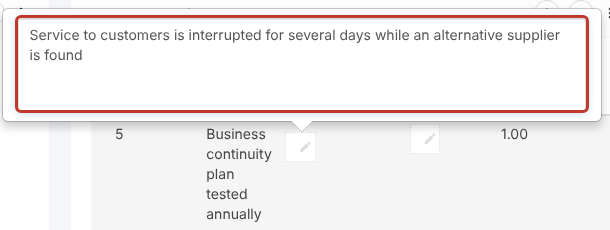
Select the pencil in the Consequence column of an impact control and describe what would happen if the risk occurred.
The completed bow tie shows each likelihood control with its root cause on the left, and each impact control with its consequence on the right.
Saving the Bow Tie #
Select Save at the top right, or the pencil (Save and edit) to save and stay on the risk.
Generating a Bow Tie Report #
Select Reports in the left-hand menu, filter the Module to Register Risks, find the Risk Control Bowtie Analysis report and select Generate. When the Excel file opens, select Enable Editing so its formulas can run. See Generating a Risk Register Report.