An overview of the advanced filtering options
Accessing Advanced Filter #
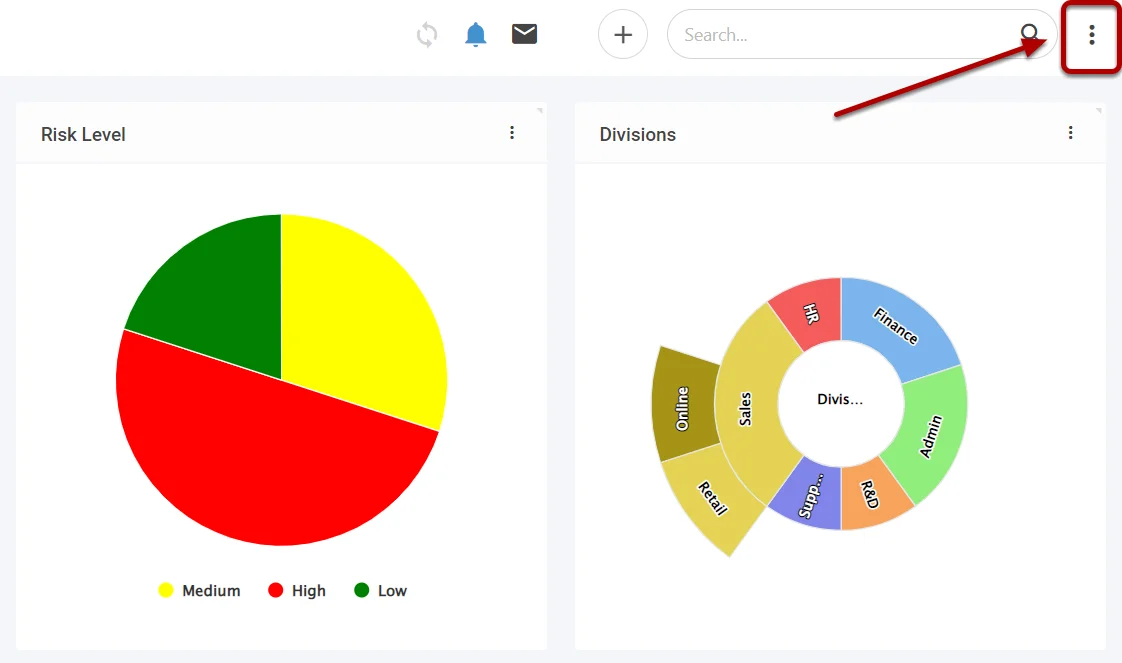
On the desired module you wish to use advanced filtering for, navigate to the three dots at the top right,
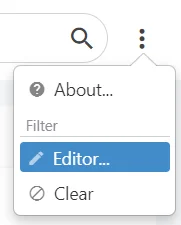
Select the Filter Editor,
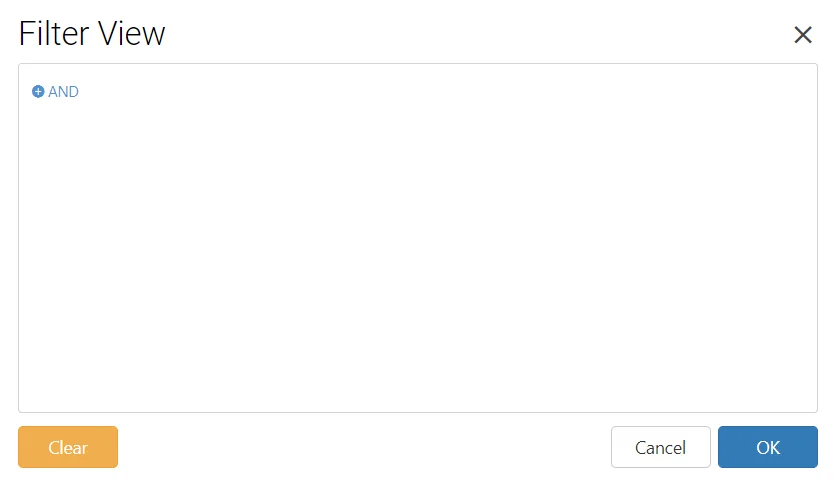
The Filter View shows any applied filters to the current view, to add a new filter select the +AND,
Adding a Filter #
The advanced filter allows you to filter on any attribute within a record, regardless if it is shown on the grid,
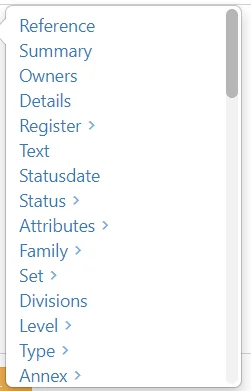
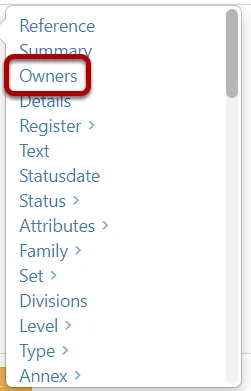
As an example, lets filter by an owner of a record, select the Owners attribute,
The attribute will now be displayed in the Filter View,

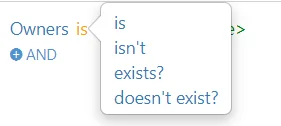
Selecting the is brings up logical options to enhance your searching,
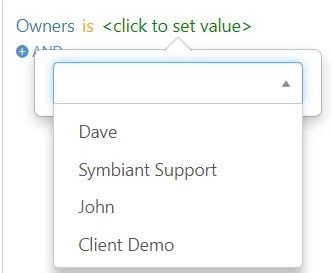
Selecting the value, allows us to see all available options and select one from the drop-down,
Selecting the OR will allow you to add additional options for the same attribute,

Adding Multiple Filters #
The filter can be as simple or as complex as you’d like, the choice is completely up to you,
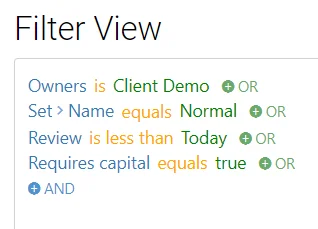
When ready to filter the data, select the Ok at the bottom right,
All items on the view including graphs will filter the records that match the query.

Accessing the filtering view easily #
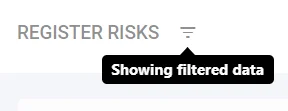
At the top of the screen, next to the module name you can select the Filter Icon to get back to the Filter View.
Clearing the Filter #
Select the Clear icon at the bottom left within the Filter View to clear any applied filters.
Saving a Filter as a Personal Preset #
If you’d want to Save the Filter as a Personal Preset,
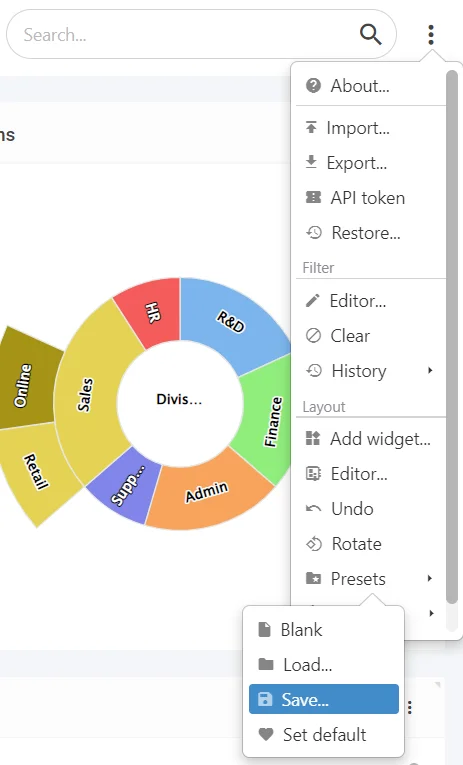
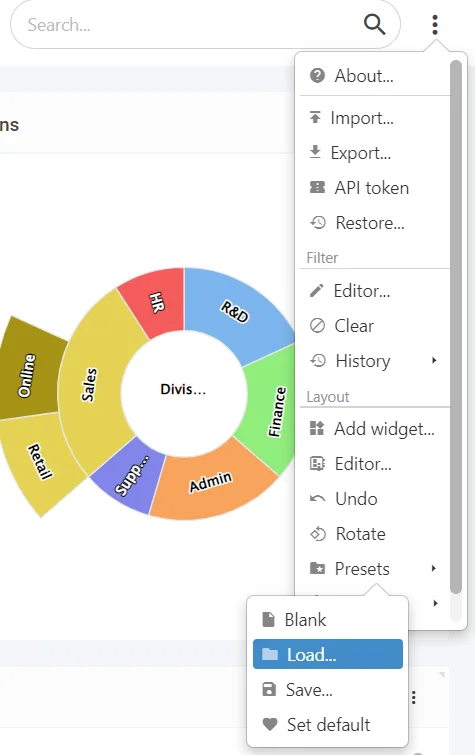
With the Filter Applied, Select the three dots at the top right, then select Presets, then Save,
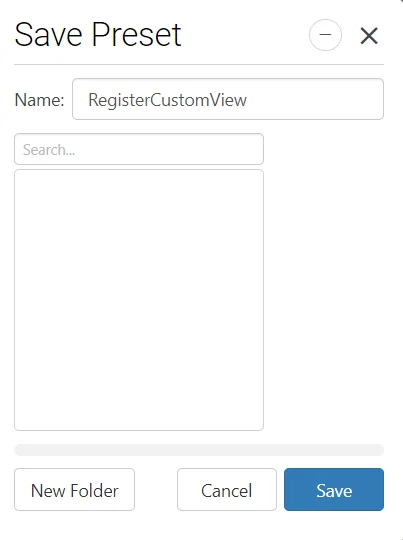
Name the Preset and Save it,
Loading a Preset #
Select the three dots at the top right, and then select Presets and Load,
Select the desired Preset, and Load,
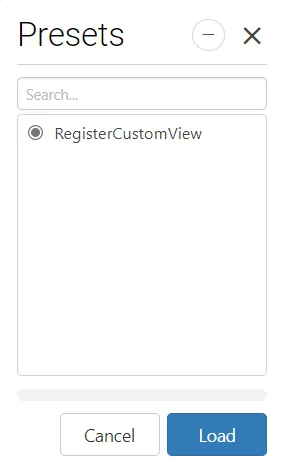
The Filter that was Saved onto the Preset will now Load!
(Note: The preset view will be loaded until you exit a Module)


