How to use the Dashboard Layout Tools
Accessing a Dashboard #
Every module has a Dashboard (List View) which is the core area where graphs and records are shown,
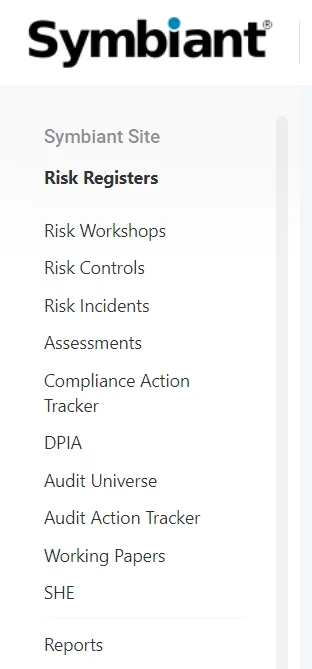
Selecting a Module on the left side menu will load that Modules Dashboard,
Grouping Graphs into Tabs #
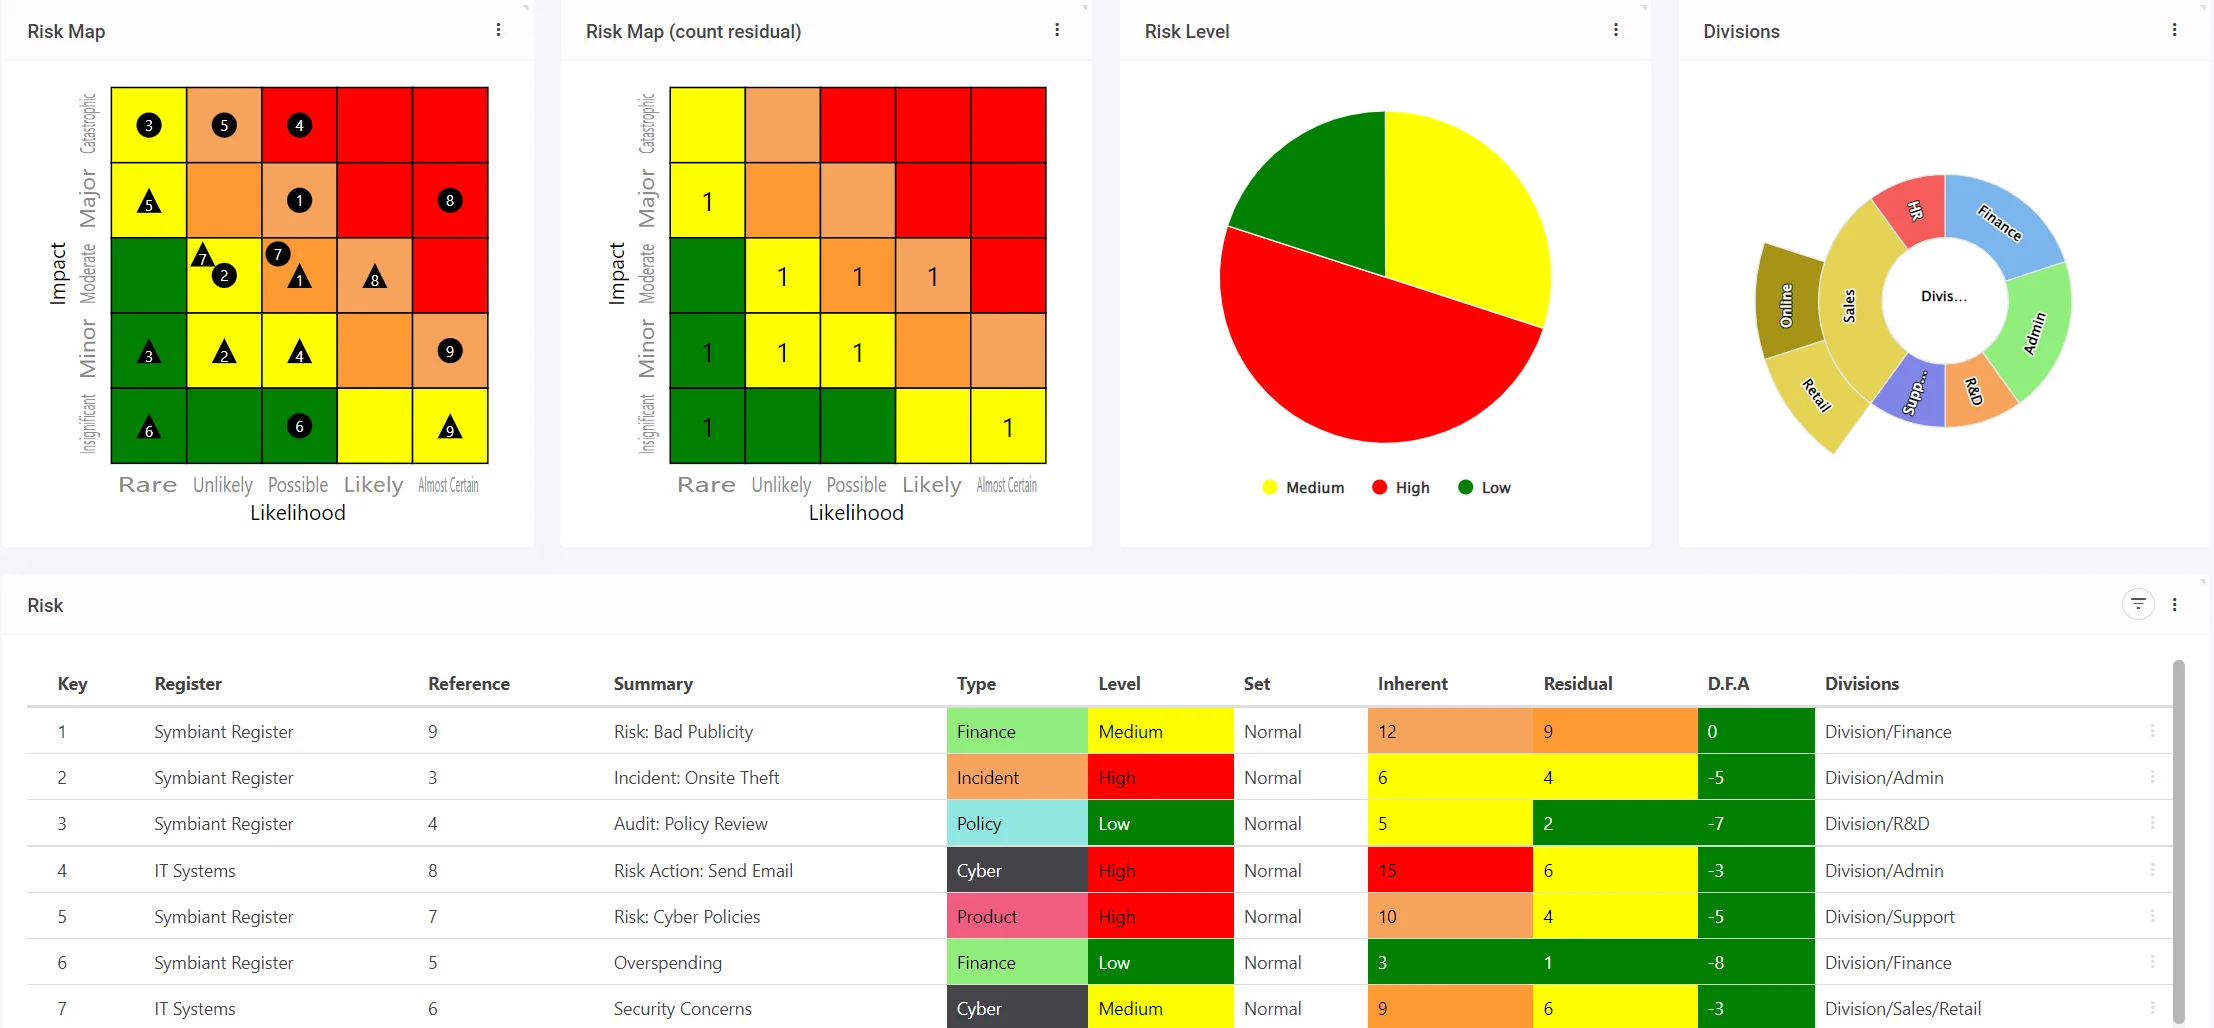
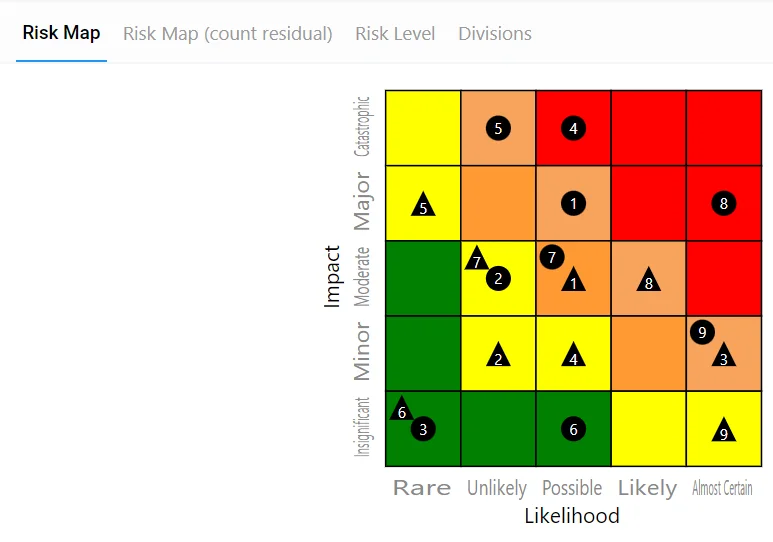
Select the three dots on any graph, and select As Tabs,
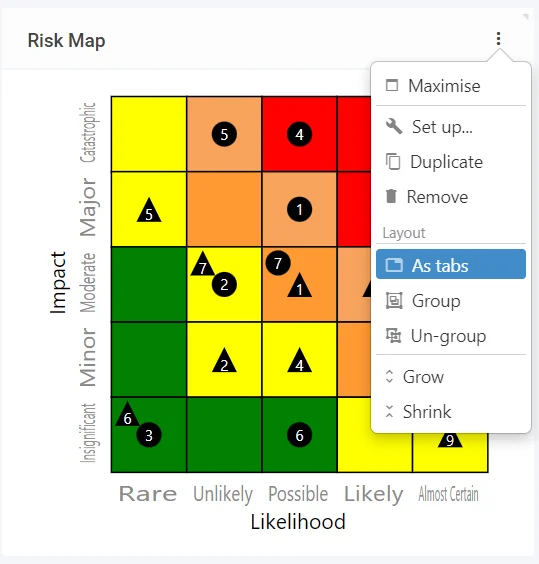
The graphs will now be grouped in a separate tab for each,
Adding Items to a Tab #
You can further add items to a tab group,
Hover your mouse over any other element on the dashboard, such as a record grid,

Drag the element up to the tabs,
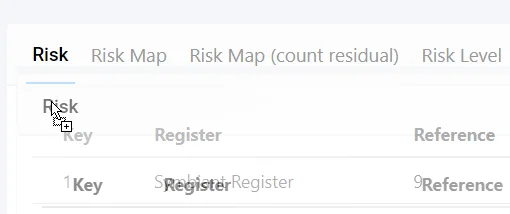
The element will snap to any existing tab grouping,

Growing & Shrinking Elements #
You can increase or decrease any element on a dashboard to better fit your desired look,
Growing Elements #
A great example is to increase the size of a particular chart over others,

Select the three dots on any element and then Grow,
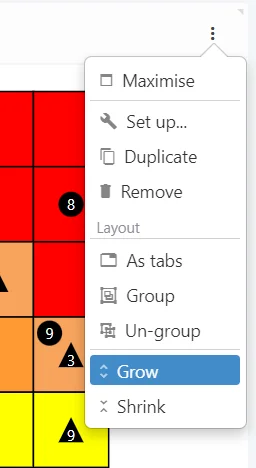
The chart will then grow reducing the size of the others in the process,

Shrinking Elements #
To shrink an element, select the three dots and then Shrink,
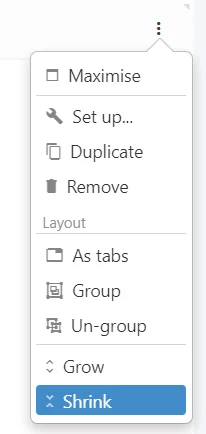
This will do the opposite of growing, and make all other elements gain space in the dashboard.
Grouping Elements #
You can group elements together to create a horizontal or vertical row of elements,
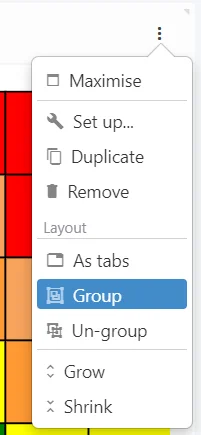
Select the three dots on any element and then Group,
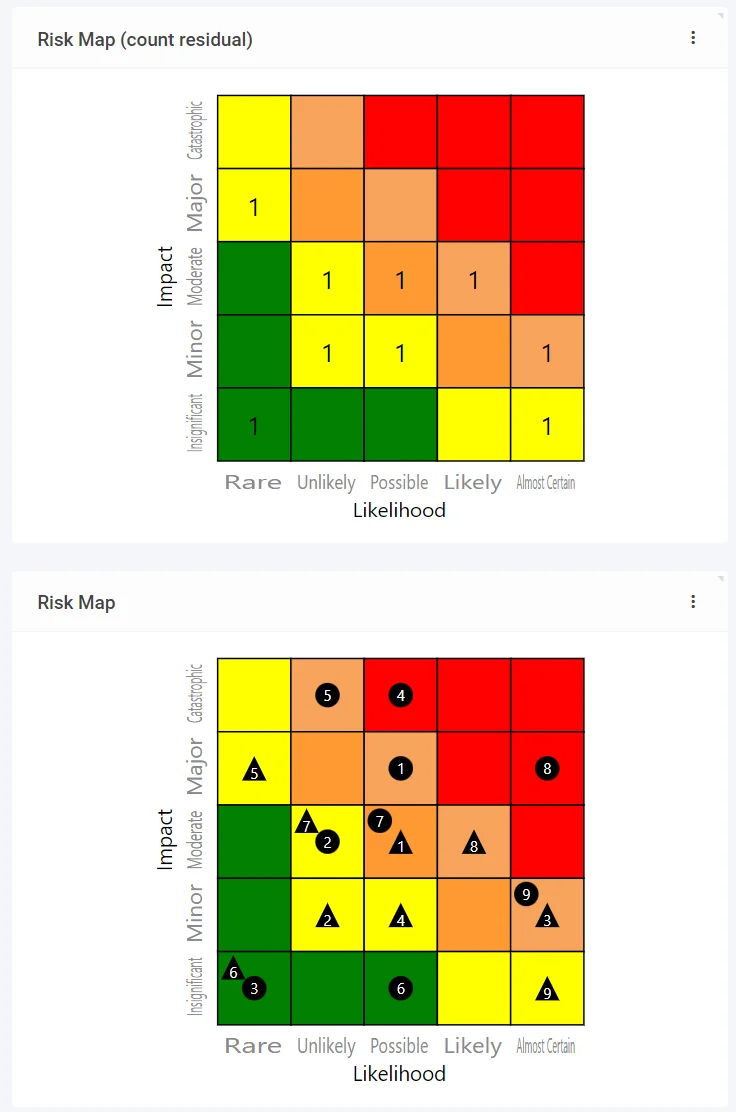
This will group the element directly adjacent to the ordinal element,
Ungrouping Elements
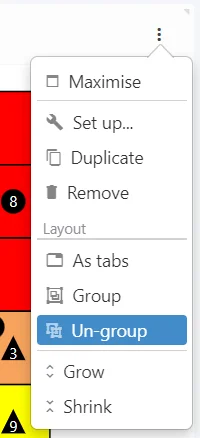
To ungroup an element, select the three dots and then Ungroup
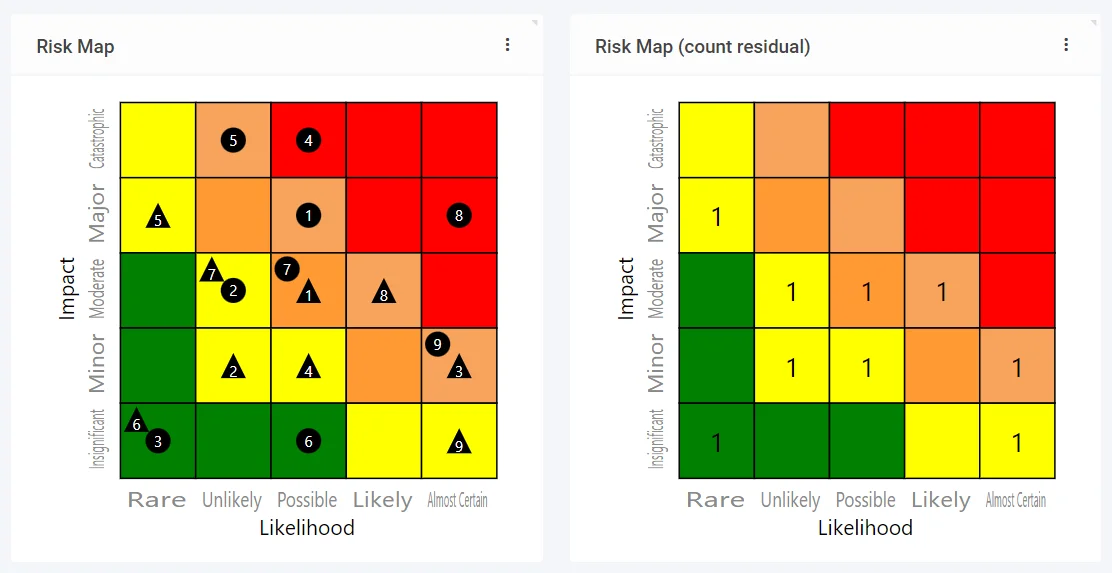
This will place the elements back to how they were before the grouping,
Saving as a Personal Preset #
If you’d want to Save the changes made above,
Select the three dots at the top right, and then select Presets, then Save,
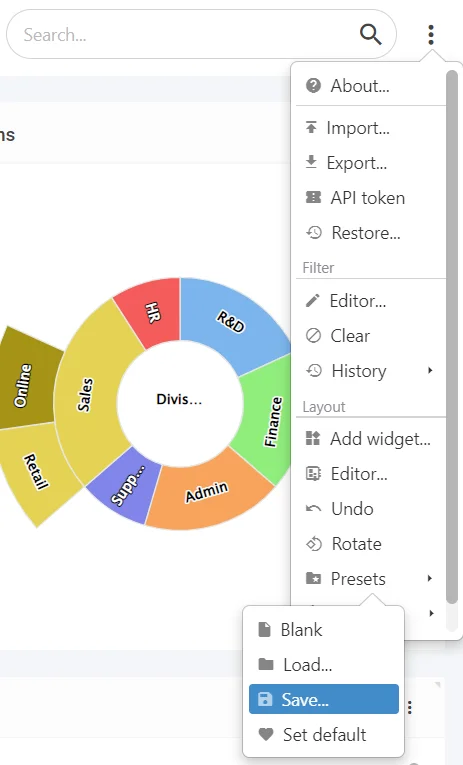
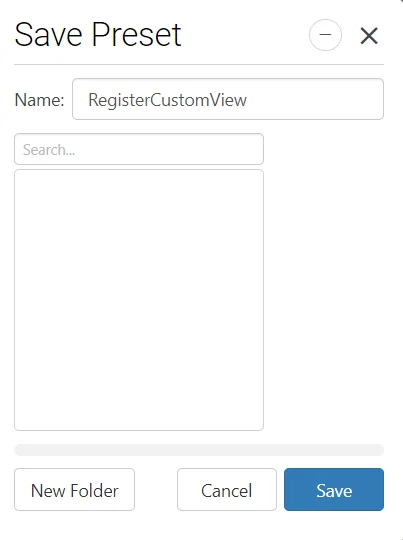
Name the Preset and Save it,
Loading a Preset #
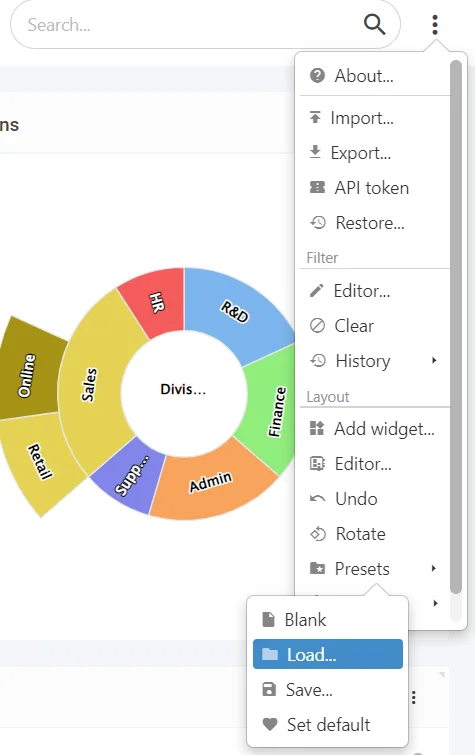
Select the three dots at the top right, and then select Presets and Load,
Select the desired Preset, and Load,
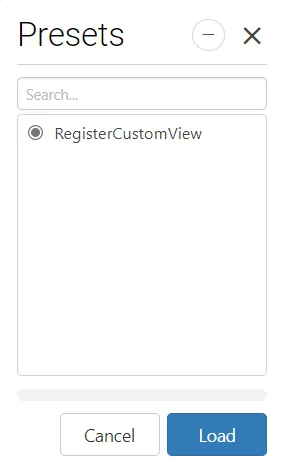
(Note: The preset view will be loaded until you exit a Module)
Saving the View (Admin Only) #
Once you completed your view changes, and want to apply them globally,
Select the three dots again at the top right, and then select Admin, then Save,
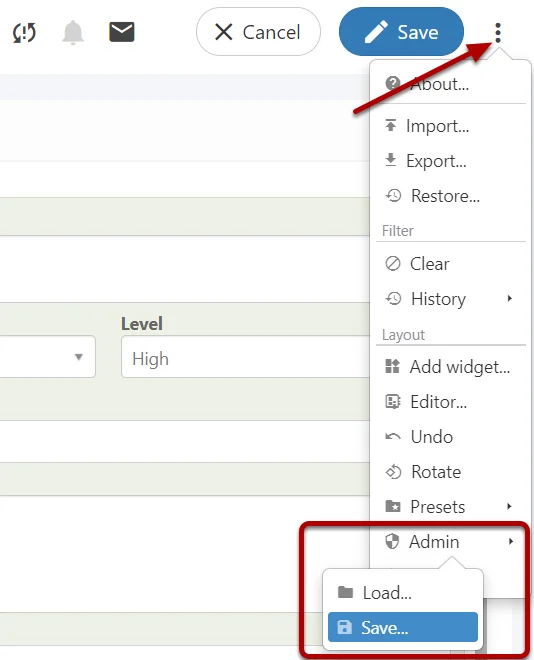
Select your company-specific view from the list,

It is highly recommended you don’t save over generic views!
(If you don’t see any company-specific views, please follow: Creating Your Own Custom Views)
Once saved, Sign Out of Symbiant and log back in to ensure your view cache is cleared.
