How to Create, Link and Use Key Risk Indicators
Note: This is an Advanced Function, if you require further help, Please Submit a Support Ticket!
Set KRI Appetites #
The Risk Category houses different KRI Appetite options,
Accessing Risk Category #
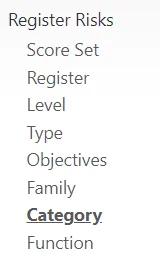
Navigate to Risk Category under Risk Registers
Adding a KRI Appetite #
Navigate to Category under Register Risks Module,

Add or Edit a Risk Category,

Select the KRI Appetite for this Category,
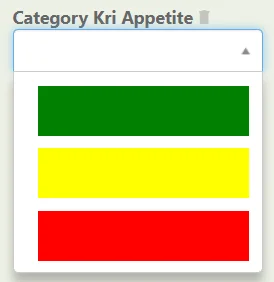
Save the Category at the top right,

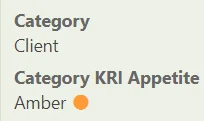
When a certain Risk Category is added to a Risk that Risk then Inherits the KRI Appetite,
Creating a KRI Assessment Option #
The Questionnaire Options is where we set up our KRI assessment Options
(For more Information on Options, Please See: Creating a Question Option)
Navigate to Questionnaire Options #
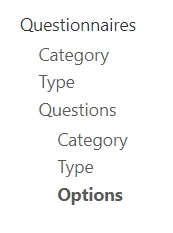
Navigate to Options under Questions which is under Questionnaires,
Select the Plus icon from the top right,

Adding a KRI Option #
Select the Type as KRI,
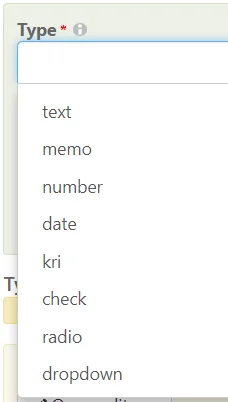
Next, add Response Guidance, this information is shown in the questionnaire under the main question.
Use it to give guidance on how they should respond, such as selecting one of the following or entering a number.
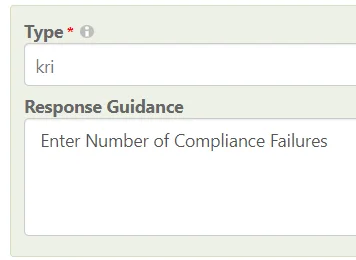
Selecting KRI will bring up further options,
Enter the Desired Thresholds,

Threshold: Number indicating the different RI sections.
In the above example;
Less than Five is Green
Greater than or equal to Five is Amber
Greater than or equal to Ten is Red
Min: Minimum number a user can answer with
Max: Maximum number a user can answer with
You can also switch the Thresholds around, enabling the Lower Band to be Red, and the Higher Band to be Green

Saving a KRI Option #
When finished, remember to Save at the top right (1) OR Save and Edit (Saving but remaining on the same screen) (2)

Adding a KRI Option to a Question #
Questions are where we link our KRI Options and Link our KRIs to Risks
(For more information on Questions, Please See: Creating a Question and Linking Options)
Accessing Questions #
Navigate to Questions which is under Questionnaires,
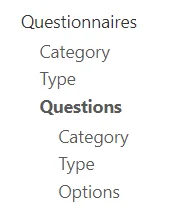
Select the Plus icon from the top right,

Fill Out Question Details #
Select a Type and Category for the Question (Grouping)
Then fill out the Question Text (This is how the question shall be shown to the user)

Saving a Question #
When finished, remember to Save at the top right.

Linking Question KRI Options #
Select the newly created Question,
Then select the Dot (Link) icon at the right,

Select the KRI Options you want to Link to this Question,

Select the Blue Tick at the top right to add the selected KRI Options,

Saving the Linked Options #
When finished, remember to Save at the top right (1) OR Save and Edit (Saving but remaining on the same screen) (2)

Linking KRIs to Risks #
On any Question that has a KRI Option, the Linked Risks tab shall be shown,
Selecting the Tab allows you to link Questions to Risks,

Select the Link Icon,

Select the Risks, you want to link to this KRI Question,

Select the Blue Tick at the top right to Link the selected Risks,

Saving the Linked Risks #
When finished, remember to Save at the top right (1) OR Save and Edit (Saving but remaining on the same screen) (2)

Responding to a KRI Question #
Once you have created your KRI Option, Questions and Linked the Risks,
You’ll need to create a Questionnaire and then a Survey and finally respond to that Survey.
Guides on that can be found below:
Seeing the Effect of KRI’s #
Navigate to Risk Registers Module,
Select the Risk that you attached a KRI Question to,

Select the KRI Data Tab,
Here you can see all RI Option Questions that have been attached, a breakdown of the Last Three RI Responses,

Once a RI Question has been responded to this will update to reflect those values,
KRI Calculation #
The KRI fields on a Risk are a bubble-up of the attached RI’s in the KRI Data Tab,
The actual KRI shown is calculated based on the weighting given to each RI Question.
(More Information on Question Weightings can be found at What are Question Weightings?)

KRI Dashboard #
The Risk Registers Dashboard can be configured to show all the critical KRI information,
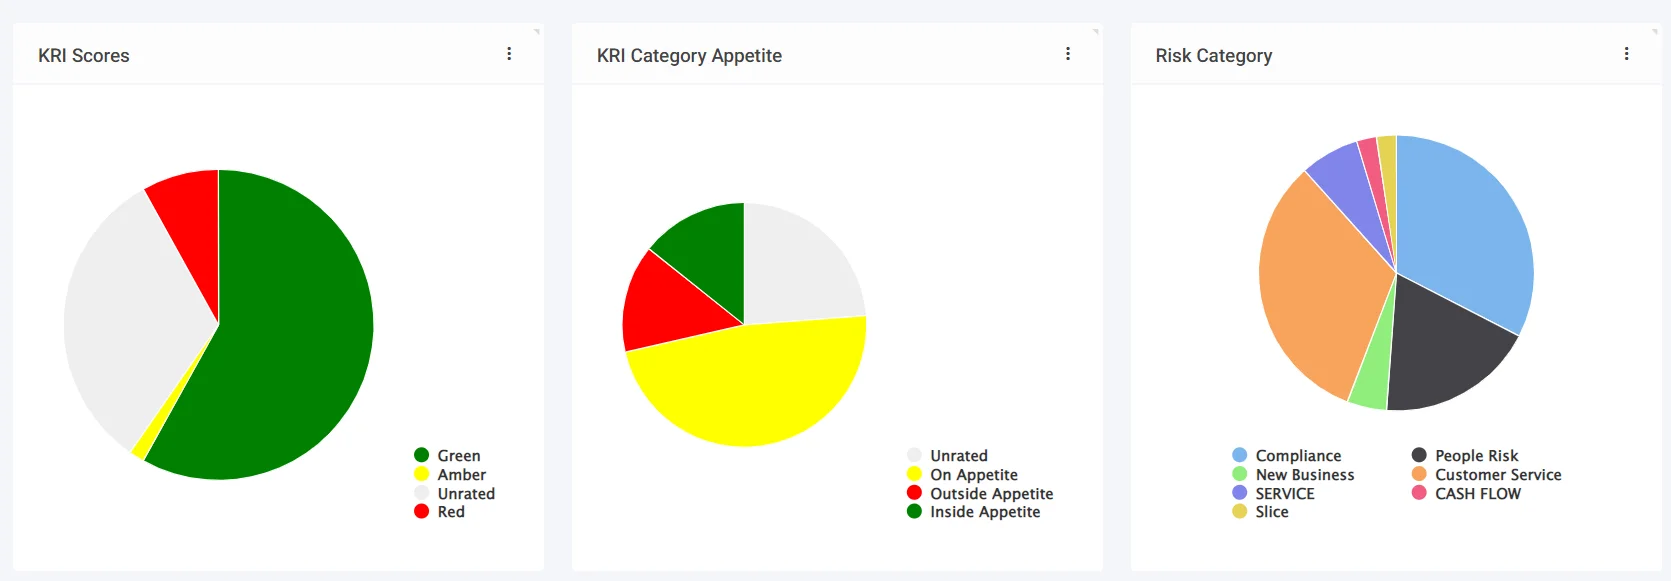
If you’d like this added to your Site, Please Submit a Support Ticket!


