How to Add or Delete a Grid Column on the Dashboards (List View)
Adding a Column #
Loading a View #
To begin with please load the view you wish to make this change to.
Select the three dots at the top right, and then select Admin, and Load,
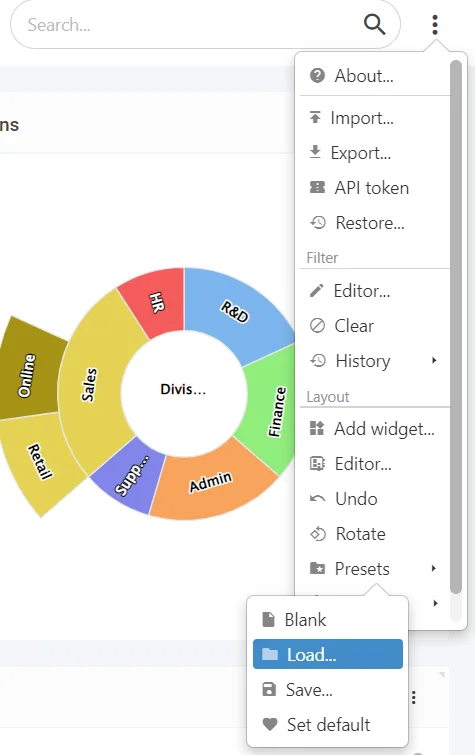
Select your company-specific view from the list,

It is highly recommended you don’t save over generic views!
Adding a Column #
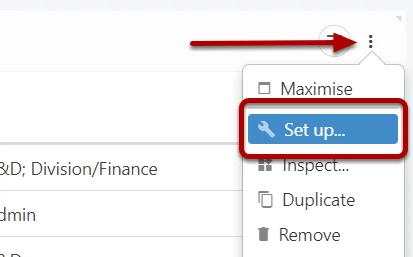
On the dashboard grid, select the three dots & Select Set up,
Click on the plus icon (+),
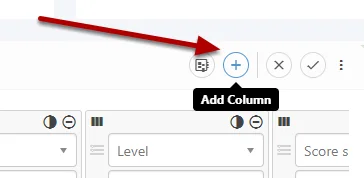
(Note: The new item will be added at the end of the grid columns)
Select the top drop-down, and select what you want to add,
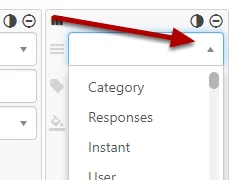
Ensure you fill out at minimum the column item! (1)
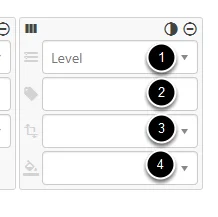
Quick Explainer of the Rows:
- The column item
- The Label for the column, if you want to change it from the default. (In this example the default will be Level, but you can call it whatever you like using this field)
- The data to be displayed is usually the text value.
- If a colour is involved, this is usually just Colour
(Note: If the data row (3) has an option ENSURE you select the text value!)
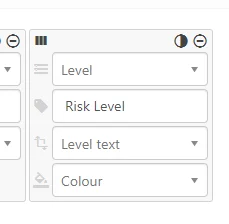
Example of Correctly Configured Column
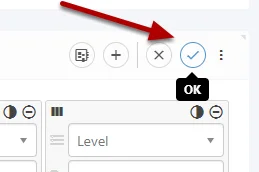
When complete, select the OK tick on the grid,
Removing a Column #
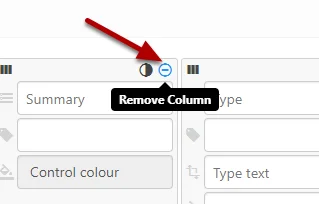
To remove, click the minus sign
When complete, select the OK tick on the grid,

Moving a Column #
To move click on the slider and drag it to where you want it.

When complete, select the OK tick on the grid,

Renaming a Column #
To rename a column, select the Label box
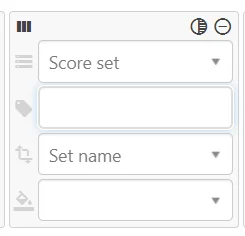
Add or Rename the Label for the Column,
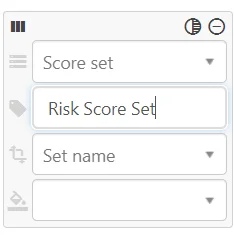
When complete, select the OK tick on the grid,

Saving the layout changes (Do not select the Blue Save Icon) #
Select the three dots at the top right, and then select Admin, and Save,
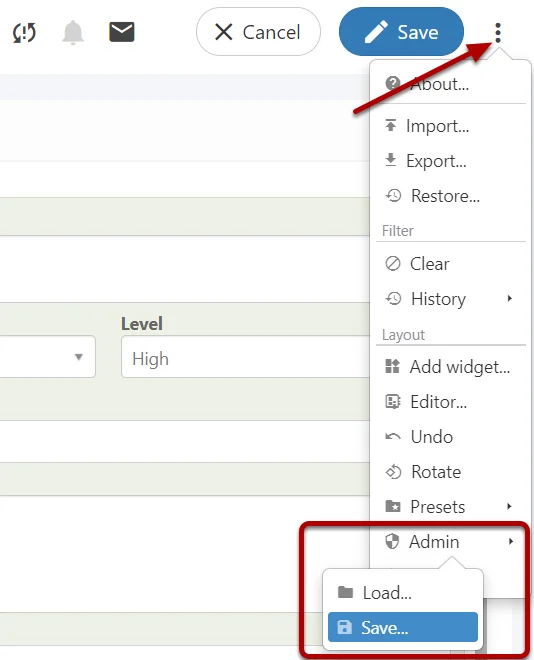
Select the view you initially loaded from the list,

It is highly recommended you don’t save over generic views!
If you see no company-specific views, please follow this guide: Creating Your Own Custom Views
Saving as Personal Preset #
Instead of saving a view change globally, you can simply save it for yourself (So only you would see the changes)
(Note: You can do this with all views and layouts)
Select the three dots at the top right, and then select Presets, and Save,
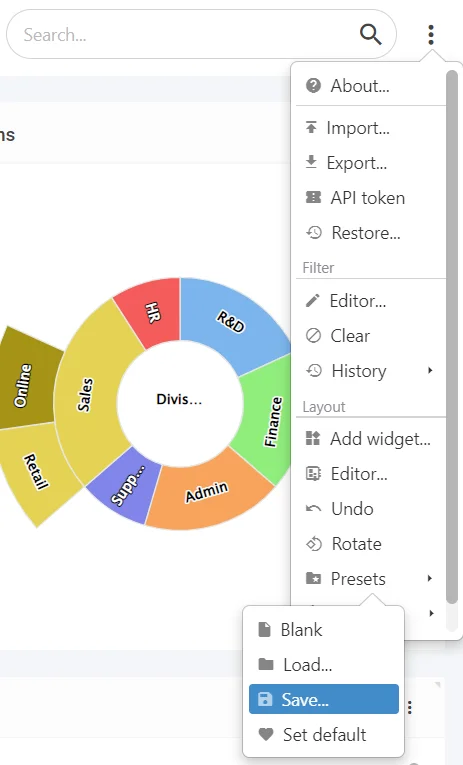
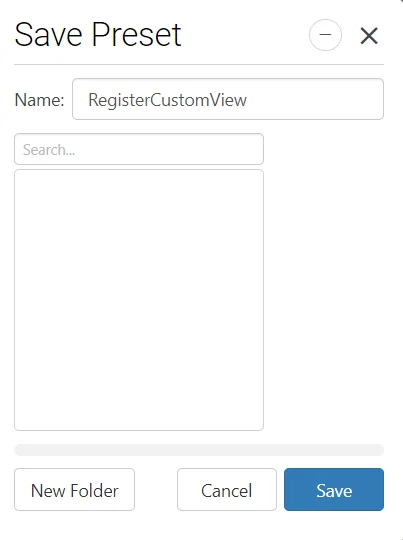
Name the Preset and Save,
Loading a Preset #
Select the three dots at the top right, and then select Presets and Load,

Select the desired Preset, and Load,
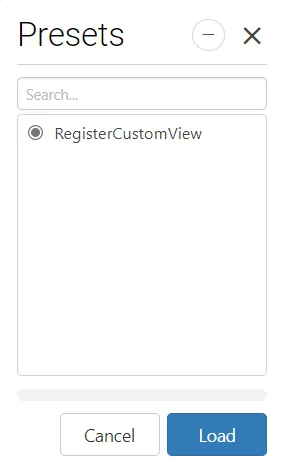
(Note: The preset view will be loaded for the rest of your session)


