
 Doc Summary

This article shows you how to add a new translation pack (locale), so that users can see Symbiant in another language or with your own wording.
Applies to: System administrators (
adminrole) · Module: Set up > Translators
Before you start #
- Decide the ISO language code for the pack, for example
fr-FR(French, France),es-ES(Spanish, Spain) oren-US(English, United States). - Every site already has an
en-GB(English) pack. A new pack can fall back to it for anything you have not translated.
Accessing the Translators #
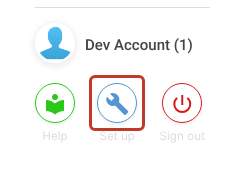
- Click the Set up spanner at the bottom left of the screen.
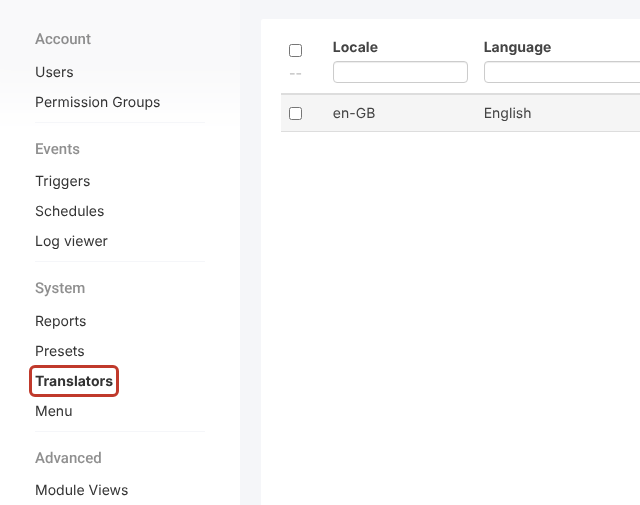
- In the Set up menu, under System, click Translators. The list shows every translation pack on the site.
Adding a Translation Pack #
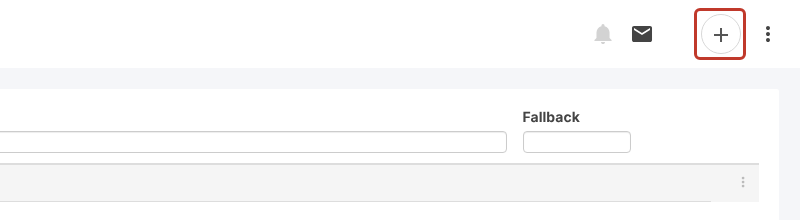
- Click the + icon at the top right.
- In Locale, enter a valid ISO language code for the pack, for example
fr-FR.
- In Language, enter a name for the pack, for example
French.
- Optional: in Fallback, choose the pack to use for any label you don’t translate (usually
en-GB).
Adding Translations #
The pack has two tabs:
- User Translations: labels on forms and the general interface (field names, menu items, buttons).
- System Translations: system messages and text outside forms (pop-up messages, confirmations, multi-factor authentication screens).
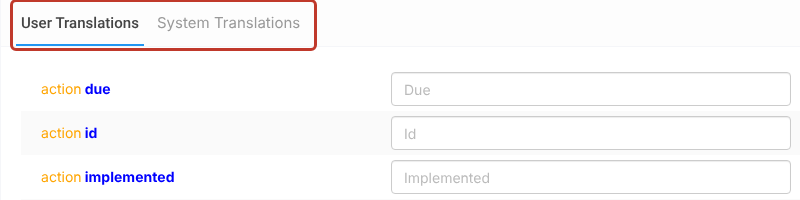
Each row shows the label’s key on the left (for example action due) and its translation on the right. Ghosted grey text is the default that is used when no translation has been entered.
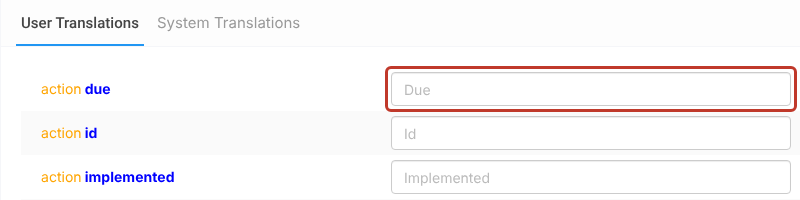
- Type your translation into the box for any label you want to change.
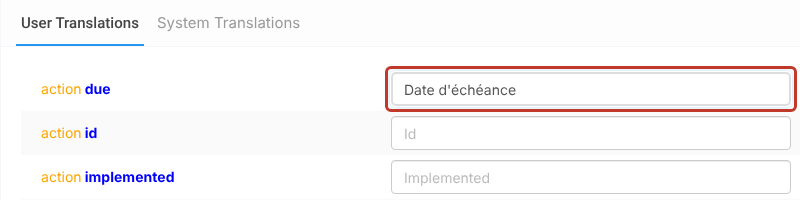
Note: Once a translation has been entered it can be changed but not removed. To make a pack quicker to fill in, use Mass Editing a Newly Created Translation Pack.
Saving the Translation Pack #
- Click Save at the top right.

You can save and come back at any time to carry on translating.
Critical: Users only see new or changed labels after they sign out and sign back in.