How to change the Systems Menu Layout & Options
(Critical Note: These changes are System-Wide and will affect ALL users)
Accessing the Menu #
Navigate to Setup by selecting the spanner at the bottom left,
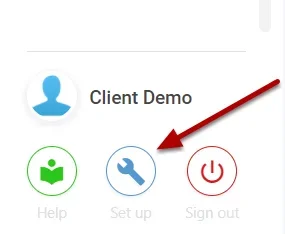
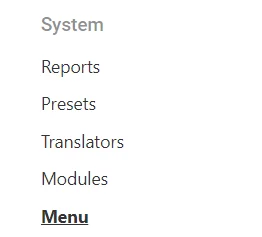
Select Menu,
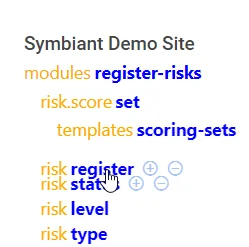
Moving Menu Elements #
Click and Drag it to the position you wish to place it,
Ensure you save at the top right once finished,

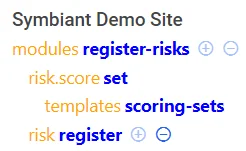
Adding a Menu Element #
Module #
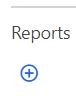
To add a Module select the Plus under Reports
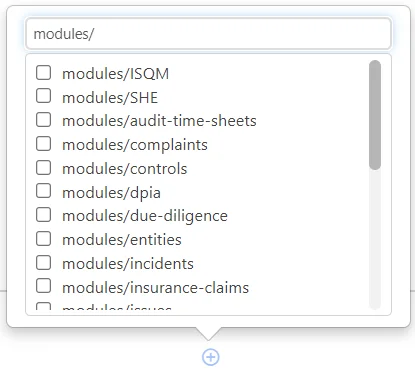
Search for Modules/ and select the tick box to add the Module
Adding Sub Module Item #
Select the Plus next to a Module,
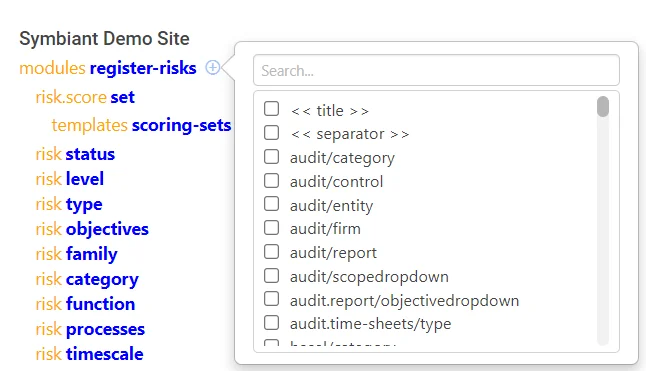
Search for the element you wish to add and select the tick box next to it,
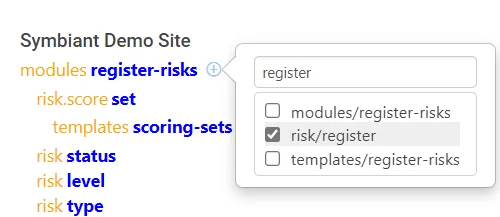
(Note: Selecting multiple items will add them in the order you selected them)
Ensure you save at the top right once finished,
Removing a Menu Element #
Select the Minus icon next to any element on the menu,
Ensure you save at the top right once finished,
Editing the Name of a Menu Item #
The name of a Menu item (and subsequently the Field name in a View) can be edited in the Translators area in System Setup.
![]()
Once in Translators, enter the Translation Pack your system uses.
Then, search for the field you wish to rename.
![]()
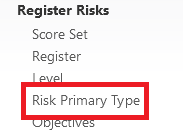
In this example, the field ‘Risk Type’ is being renamed to ‘Risk Primary Type’.
![]()
Once this is done, click Save in the top-right of the window.
This menu item will now be renamed. However, it will still use the same Schema name as previous, in the example above the item when adding would still be named risk/type but would appear as ‘Risk Primary Type’ on the menu (this also means the Menu does not need to be updated and the change will automatically apply).
Adding your Own Company Logo #
If you wish to add your own company logo branding to the System (Replacing the Symbiant Logo),
Upload your own logo from the right side options, Ensure it is of good quality and sizing!
![]()
Reverting a Custom Logo #
If you want to revert back to the default Symbiant Logo, select the Revert to Default button,
![]()
Ensure you save at the top right once finished,
Changing the Help Button Link #
If you wish to change the Help Button (At the Bottom Left) URL you can add any custom URL of your choice from the right side options,
By default, it will navigate to this help guide!

Ensure you save at the top right once finished,
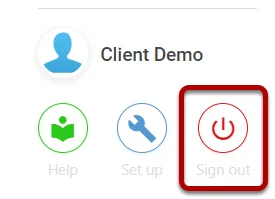
Refreshing the Menu #
Once you have changed anything within the Menu and Saved, you must refresh your System Cache to do this,
Select Sign Out at the bottom left, and log back into the system, your menu changes will now be present.