
 Doc Summary

This article shows you how to switch an automated email on or off, whether it is task-based (a trigger) or time-based (a schedule).
Applies to: System administrators (
adminrole) · Module: Set up > Triggers and Schedules
Before you start #
- Shipped automated emails are named
<module>-<what>-genericand arrive inactive. - A trigger only fires for users covered by its Assignments. Many shipped triggers have no assignments, so tick at least the root division (for example Company) when you activate one, or nobody’s changes will fire it.
- Recipients usually need the module role the email is sent to (for example
risk_admin). See How to Receive Module Specific Emails as System Admin.
Critical: Activating sends real emails to real users from that moment on. Check the recipients in the template first.
Task-Based (Trigger) #
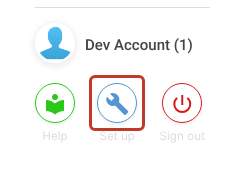
- Click the Set up spanner at the bottom left of the screen.
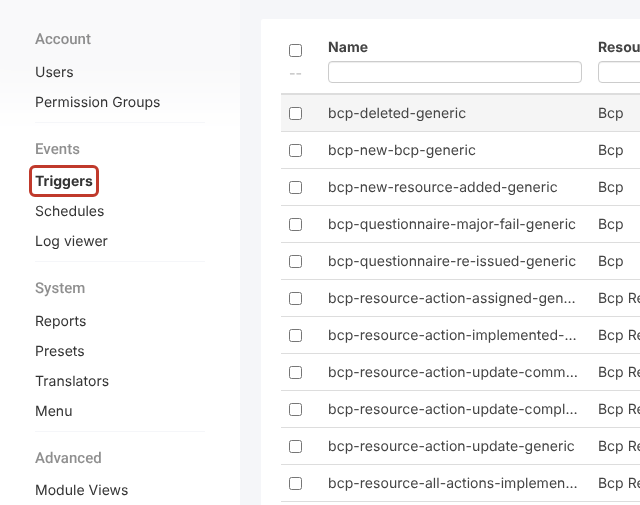
- In the Set up menu, under Events, click Triggers.
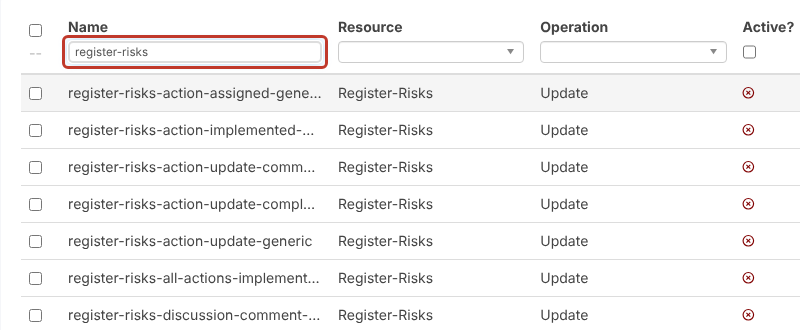
- Find the trigger with the Name filter and click it. The Active? column shows which are active.
- Click Active? at the top right of Details. It is active when ticked; click again to deactivate.

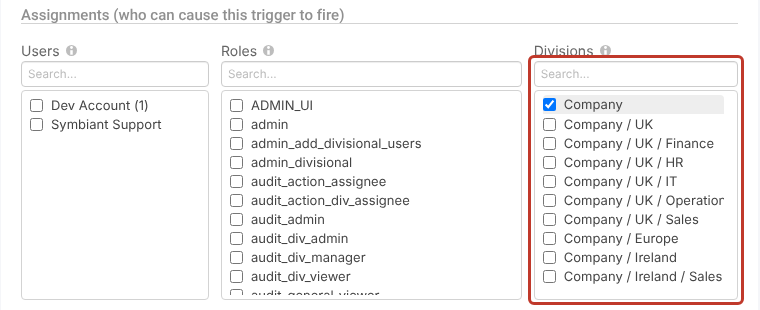
- Check Assignments (who can cause this trigger to fire): tick the root division to cover everyone.
- Click Save at the top right.

Time-Based (Schedule) #
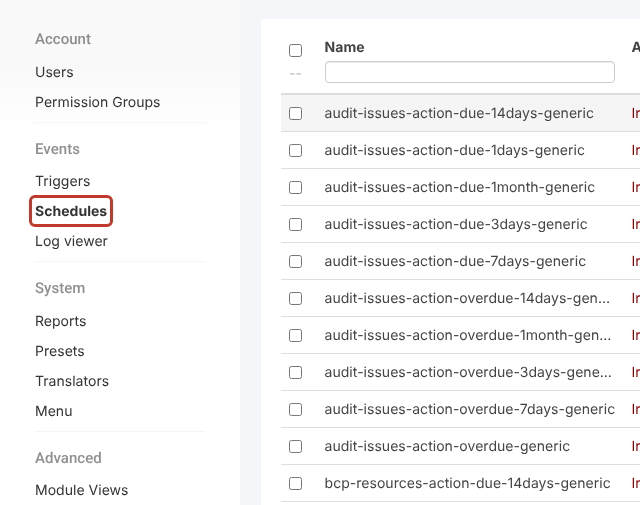
- In the Set up menu, under Events, click Schedules.
- Find the schedule with the Name filter and click it. The Active? column shows Inactive for ones that are off.
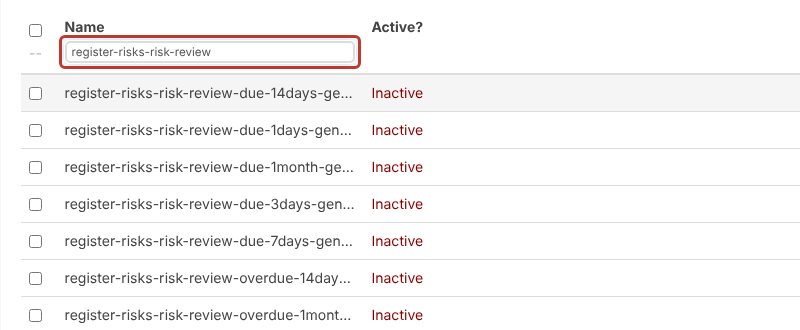
- Click Active? next to the Start and End dates.

- Click Save at the top right.
Critical: Leave the Start and End dates as they are. By default both show today’s date, which lets the schedule run continuously. Changing them can stop it running.
Note: If your site has pairs of schedules marked DE and FA, activate both. See What is DE and FA in Email Notifications?.