Skip to content
Symbiant System Black Logo
  • Home
  • Knowledge Base
  • Symbiant Website
  • Symbiant Changelog
  • Submit a Ticket
  • My Support Tickets
  • Home
  • Knowledge Base
  • Symbiant Website
  • Symbiant Changelog
  • Submit a Ticket
  • My Support Tickets
Popular Keywords importuserdivisionsamladd

Admin Basics

  • Setup Mode/Admin Menu
  • Creating/Adding Users
  • Transferring Ownership from One User to Another (Assuming)
  • Making a User Active/Inactive
  • Delete a User
  • Changing a Record Reference
  • Managing Drop-Downs, Multi-Selects, and Multi-Levels
  • Resetting a User’s Password
  • Checking System Attachment Storage
  • Database History & Restoring Historical Records
  • Restoring a Deleted Record (Archived)
  • Audit Trails
  • Email Log Viewer
  • System Menu Layout & Options

System Translations

  • Adding a Translation Pack
  • Editing a Translation Pack
  • Mass Editing a Newly Created Translation Pack
  • Assigning a Translation Pack to a User
  • Exporting a Translation Pack
  • Importing a Translation Pack
  • Adding a Default Translation Pack
  • Creating a Locale Specific View (Translated View)
  • Editing a Locale Specific View (Translated View)

Importing Data

  • Preparing Data for Import (Default)
  • Imports with Hierarchical Data
  • Importing Data (Generic)
  • Preparing Data for Import (Risks)
  • Preparing Data for Import (Users)
  • Importing Users
  • Importing Divisions
  • Importing Errors & Issues

Automated Emails (Task Based)

  • Activating and Deactivating an Automated Email (Trigger) and (Scheduler)
  • Creating an Automated Email – When a record is Created (Trigger)
  • Creating an Automated Email – When a record is Updated (Trigger)
  • Creating an Automated Email – When a record is Deleted (Trigger)
  • How to Receive Module Specific Emails as System Admin (Trigger) and (Scheduler)
  • Editing an Automated Email – Sending to a Different Module Role (E.g. Risk Manager) (Trigger)
  • Editing an Automated Email – Sending to a Record User (Trigger)

Automated Email Reminders (Time Based)

  • Activating and Deactivating an Automated Email (Trigger) and (Scheduler)
  • Creating an Automated Email Reminder – When a Record is Due (Scheduler)
  • Creating an Automated Email Reminder – When a Record is Overdue (Scheduler)
  • Setting up Recurring Schedules
  • How to Receive Module Specific Emails as System Admin (Trigger) and (Scheduler)
  • Editing an Automated Email Reminder – Sending to a Different Module Role (E.g. Risk Manager) (Scheduler)
  • Editing an Automated Email Reminder – Sending to a Record User (Scheduler)

System Views

  • System Views (Quick Explainer)
  • Creating Your Own Custom Views
  • View Editor Tool Overview
  • Editing a View
  • How to Hide/Unhide Fields
  • Loading/Saving a Particular Users View
  • What are Widgets?
  • Adding a Grid Column
  • Adding Help Tips & Placeholder text
  • Modifying a User Field to Limit or Allow Specific Users
  • Modifying a Currency Field to Set Default

Exporting Data

  • Exporting Dashboard Data
  • Exporting Divisions
  • Exporting Users
  • Generating the System User Details Report

System Errors & Issues

  • Resolving System Issues
  • System Error Messages
  • Login Issues

Reporting Suite Tutorial

  • Creating a Word Report (Basic Data Output)
  • Creating an Excel Report (Basic Data Output)
  • Creating a PowerPoint Report (Basic Data Output)
  • Creating an Excel Tabular Report (Perfect for CSV)
  • Creating an Excel Audit Report (Audit Log Of Changes)
  • Adding a new column to an Excel Report
  • Removing a column in an Excel Report
  • Creating an Advanced Word Report (Adding Functions)
  • Advanced Report Coding (Using Owners, Divisions & Assignees in a Report)
  • Advanced Report Syntax
  • Advanced Filtering on Reports (Filtering Via Code)
  • Reporting Permissions

Advanced System Functionality

  • Multi-Factor Authentication (Google Authenticator)
  • Symbiant API

Document Management (System Setup)

  • Setting Up Document Types
  • Setting Up Document Statuses
  • Document Storage Limits and File Sizes
View Categories
  • Home
  • Knowledge Base
  • Admin Information
  • Importing Data
  • Importing Users

Importing Users

2 min read

How to import users from a CSV file into the System

Prepare Data for Import #

Ensure you have followed the Preparing Data for Import (Users) steps and that your CSV file is formatted correctly against the rules.

Importing Multiple Roles and Divisions at Once #

Within the CSV Data Import, if required, there is an option to Import users with multiple Roles and Divisions,

This is done using a joining function character, in the CSV file, this character is a Pipe |

Importing Multiple Roles #

An Example of Multiple Roles is as follows:

Risk_Admin|Control_Admin

Please ensure no spaces between the Pipe Character and the Role Names are exact matches to the System.

Importing Multiple Divisions #

Symbiant/UK|Symbiant/EU

Please ensure no spaces between the Pipe Character and the Division Names are exact matches to the System.

Accessing Users #

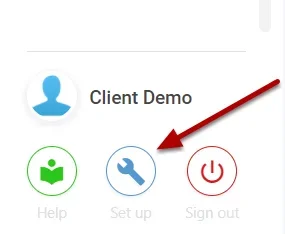
Navigate to Setup by selecting the spanner at the bottom left.
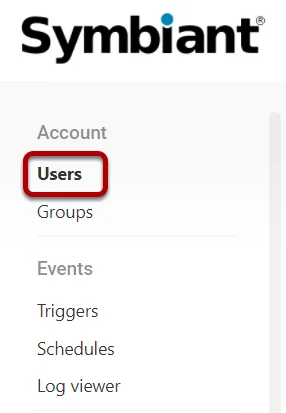
Select Users,

User Import #

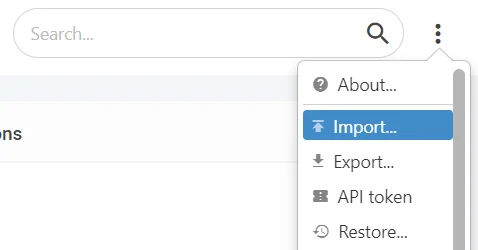
Select the three dots at the top right, then Import

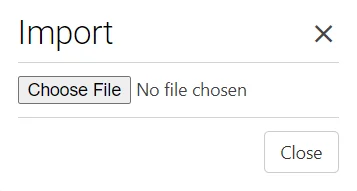
Select the file you wish to import data from,

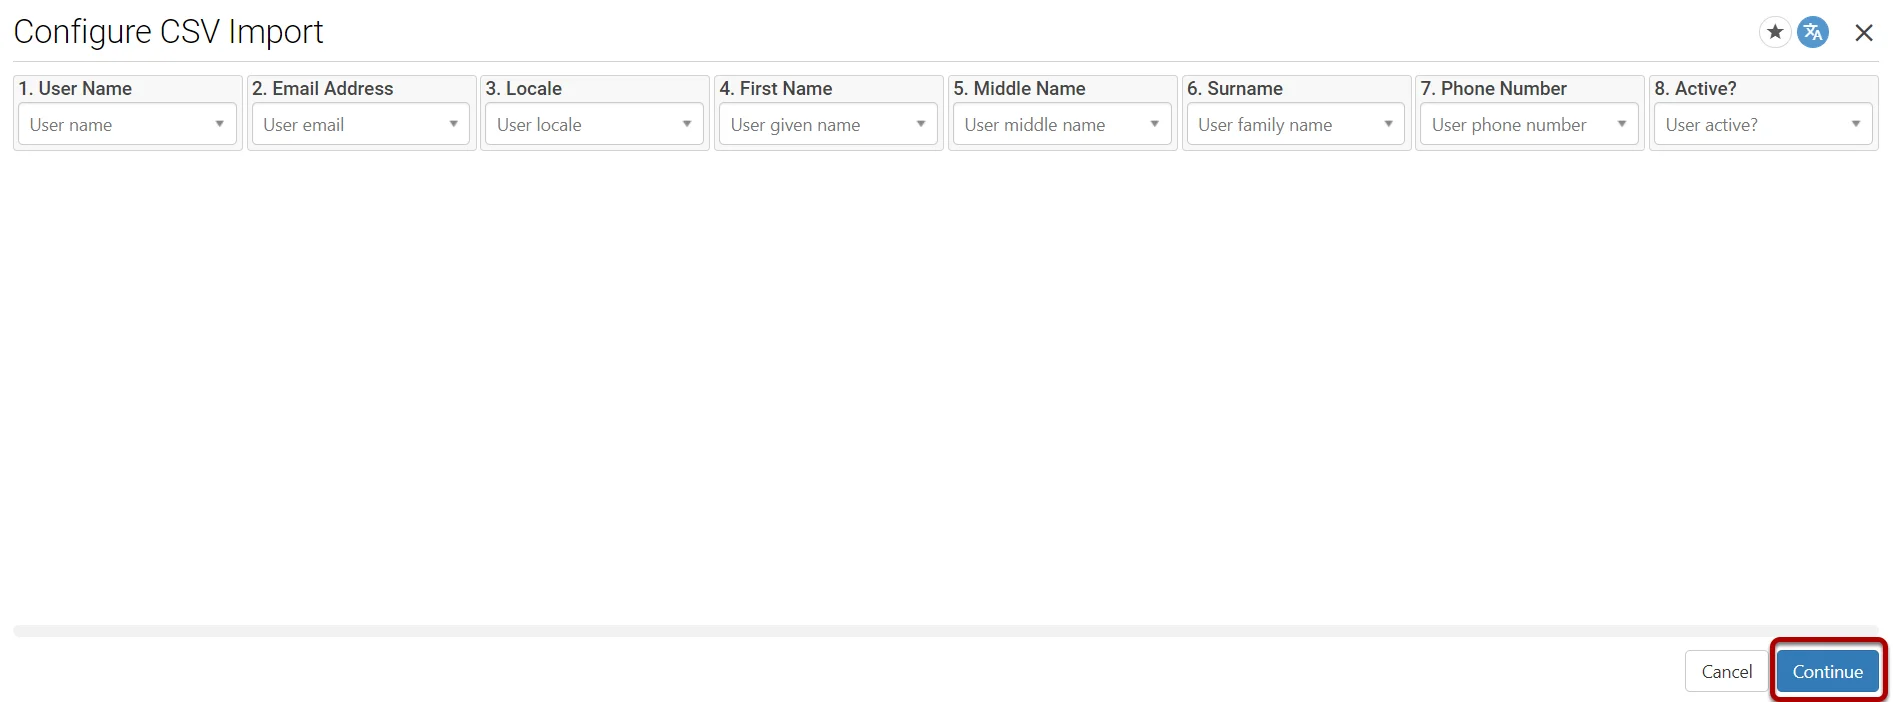
Next, you will be shown the import screen, the column titles from the CSV will be present at the top (1), with import boxes below (2),

Important Note: To make the import process easier select the Translate option at the top right! (3)

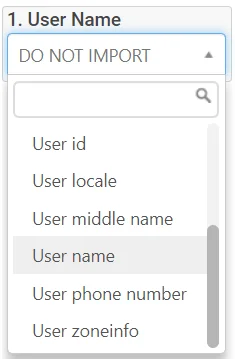
From the drop-down select the Attribute that the column represents (In the below example User Name represents the User Name)

For user imports, the User Name & Email Address are REQUIRED also, a Phone Number is required if you want to use Multi-Factor Authentication.

Saving an import as a Preset #

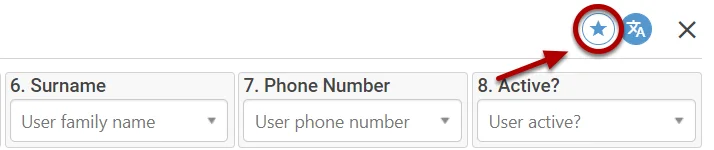
If you want to import more than once, you can save the layout of the import into a Preset, Select the Star icon at the top right,
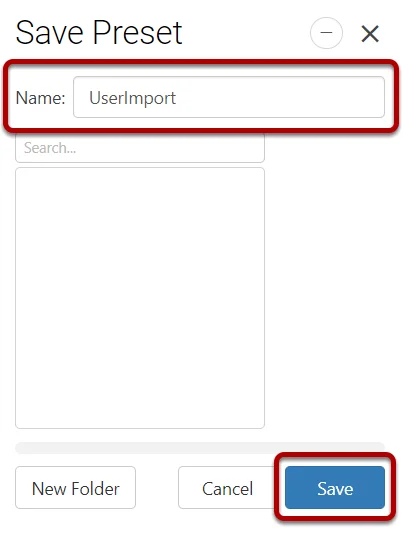
Select Save Preset,

Name the Preset and select Save,

Importing the Data #

After you have saved the preset, select Continue,

Critical Note: Ensure Name and Email Address are unique!

You will then be able to review the data that is being imported ensuring it is in the format you wish. Once you are satisfied with the data format, select Import,

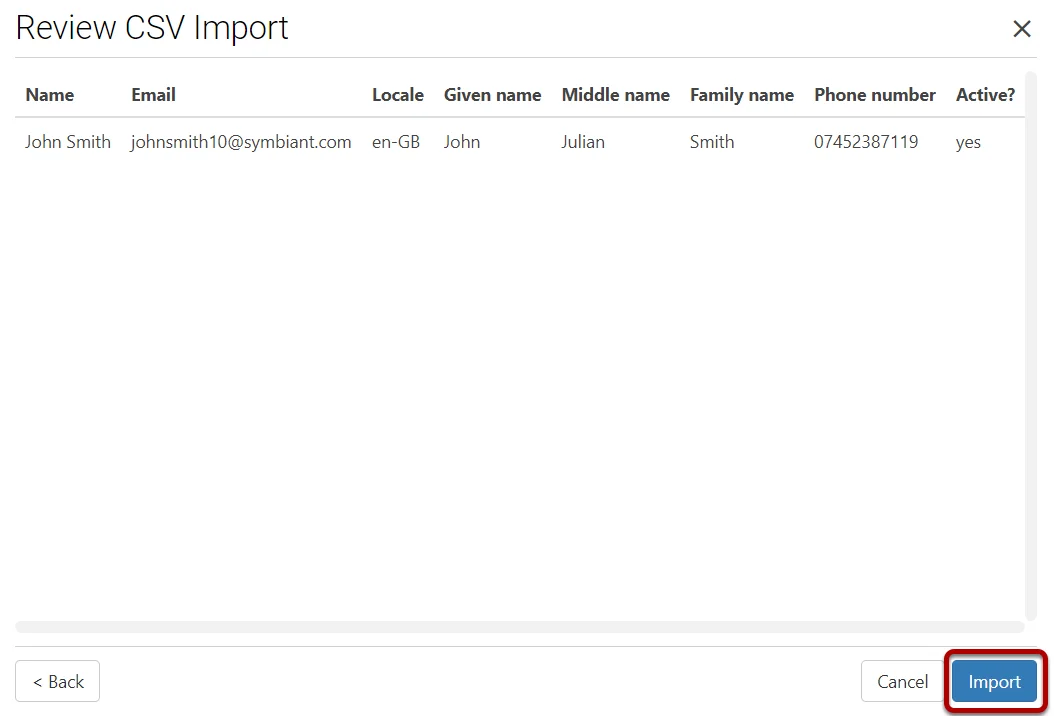
Your users will now be imported into the system.

Note: This will immediately send the user an email stating a new account has been created, Ensure they check their spam folder!

Add, Import, User
Did this help?
Share This Article :
  • Facebook
  • X
  • LinkedIn
Require Additional Information? Please Contact Support

How can we help?

Updated on 17 January 2024
Preparing Data for Import (Users)Importing Divisions
Table of Contents
  • Prepare Data for Import
    • Importing Multiple Roles and Divisions at Once
      • Importing Multiple Roles
      • Importing Multiple Divisions
  • Accessing Users
  • User Import
  • Saving an import as a Preset
  • Importing the Data
Symbiant System White Logo

20-22 Wenlock Road

London

N1 7GU

Linkedin
Telephone Numbers
  • UK - 020 8895 6410
  • Support - 020 3821 1993 option 2
  • USA - 347 991 7130
Information
  • Home
  • Knowledge Base
  • Symbiant Website
  • Submit A Ticket
  • Change Requests
  • Support Staff Login

Copyright © 2023 Symbiant All Rights Reserved - Risk, Audit and Compliance Management Software

We use cookies on our website to give you the most relevant experience by remembering your preferences and repeat visits. By clicking “Accept All”, you consent to the use of ALL the cookies. However, you may visit "Cookie Settings" to provide a controlled consent.
Cookie SettingsAccept All
Manage consent

Privacy Overview

This website uses cookies to improve your experience while you navigate through the website. Out of these, the cookies that are categorized as necessary are stored on your browser as they are essential for the working of basic functionalities of the website. We also use third-party cookies that help us analyze and understand how you use this website. These cookies will be stored in your browser only with your consent. You also have the option to opt-out of these cookies. But opting out of some of these cookies may affect your browsing experience.
Necessary
Always Enabled
Necessary cookies are absolutely essential for the website to function properly. These cookies ensure basic functionalities and security features of the website, anonymously.
CookieDurationDescription
cookielawinfo-checkbox-analytics11 monthsThis cookie is set by GDPR Cookie Consent plugin. The cookie is used to store the user consent for the cookies in the category "Analytics".
cookielawinfo-checkbox-functional11 monthsThe cookie is set by GDPR cookie consent to record the user consent for the cookies in the category "Functional".
cookielawinfo-checkbox-necessary11 monthsThis cookie is set by GDPR Cookie Consent plugin. The cookies is used to store the user consent for the cookies in the category "Necessary".
cookielawinfo-checkbox-others11 monthsThis cookie is set by GDPR Cookie Consent plugin. The cookie is used to store the user consent for the cookies in the category "Other.
cookielawinfo-checkbox-performance11 monthsThis cookie is set by GDPR Cookie Consent plugin. The cookie is used to store the user consent for the cookies in the category "Performance".
viewed_cookie_policy11 monthsThe cookie is set by the GDPR Cookie Consent plugin and is used to store whether or not user has consented to the use of cookies. It does not store any personal data.
Analytics
Analytical cookies are used to understand how visitors interact with the website. These cookies help provide information on metrics the number of visitors, bounce rate, traffic source, etc.
SAVE & ACCEPT
Loading...

Insert/edit link

Enter the destination URL

Or link to existing content

    No search term specified. Showing recent items. Search or use up and down arrow keys to select an item.