Widgets are user-created View Components that can be reused inside a Module View.
They reside in a library and can easily be added to as well as updated.
As an example, we can create a widget from the Risk Details Section.
Creating a Widget #
Navigate to any View in the System (List-Dashboard, Adding New, Details)
In this example, we are going to create a widget for the Risk Details Section, (In Yellow)
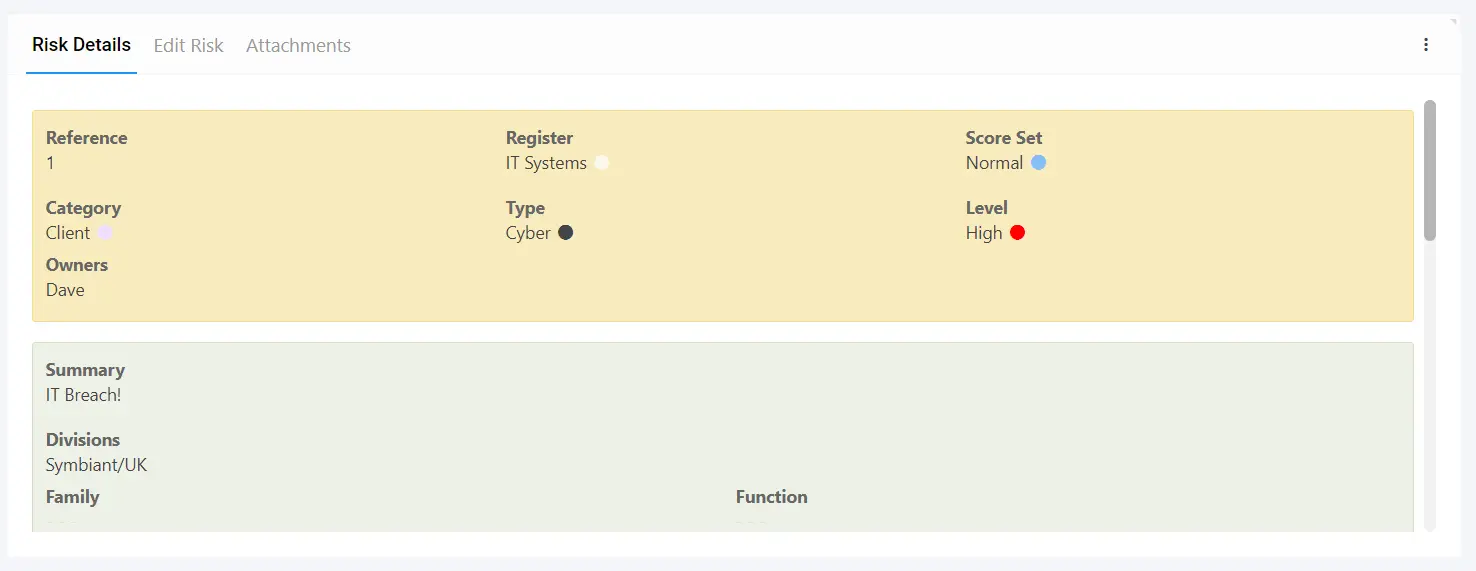
Select the Component Form, top three dots and then Setup,
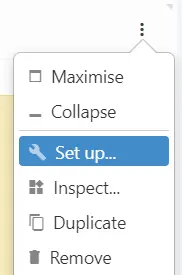
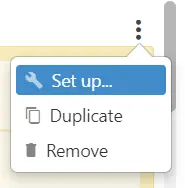
Select the Section (Yellow) or Area you’d like to create a Widget from, and Setup again
At the top of the View Editor is a “Widget Name” box,
Enter a Name
Note: Names cannot have spaces, instead use underscores (_) or dashes (-)
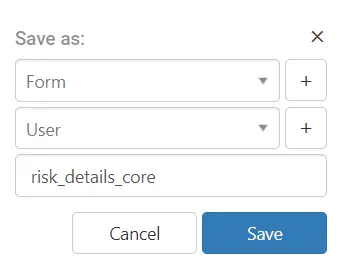
Then select the Folder Icon, and then select Save As
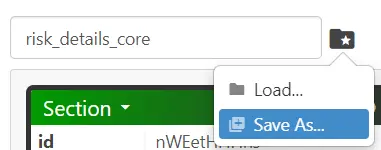
In the Save As screen, you can change the Widget Name before Saving,
Additionally, you can change the folder structure naming if required by selecting the Plus Icon on the Right,
Once satisfied, select the Save Button.
Adding a Widget to a View #
In this example, we are going to add our newly created Widget below our comments section.

First, Select Setup on the View Component (Three Dots)

Select Add Widget,
![]()
Navigate to the Widget in the Library (Either Directly or by Searching)

Selecting the Widget shows different options at the bottom of the Library Screen,
As we are adding the widget, simply select OK.

This will then add the selected Widget to the View. (No Long Setup or Manual Field addition Required).

Saving a view (Do not select the Blue Save Icon) #
Once you’ve made your Widget View changes, if you’d like to save these,
Select the three dots at the top right, and then select Admin and Save,
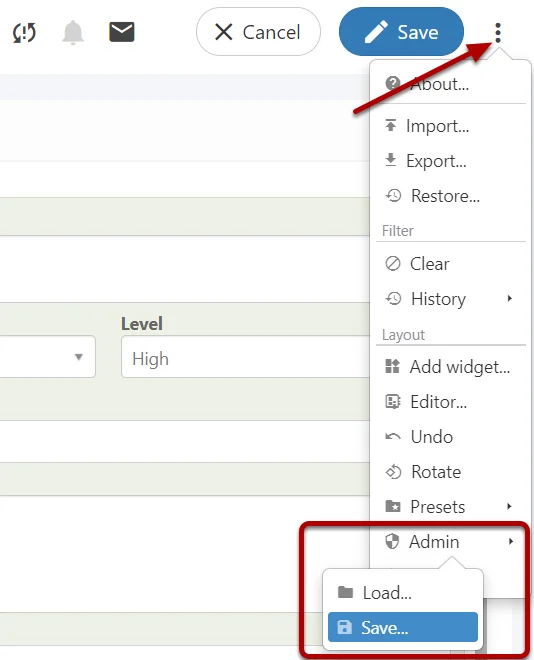
Select your company-specific view from the list,

It is highly recommended you don’t save over generic views!
(If you don’t see any company-specific views, please follow: Creating Your Own Custom Views)
Once saved, Sign Out of Symbiant and log back in to ensure your view cache is cleared.
Updating a Widget #
First, Select Setup on the View Component (Three Dots)

Select Add Widget,
![]()
Navigate to the Widget in the Library (Either Directly or by Searching)

Selecting the Widget shows different options at the bottom of the Library Screen,
As we are updating the widget, simply select Configure.

The View Editor shall now be shown,
In this example, we are going to change the Caption and Colour of the Widget.

Make the changes you wish to make,
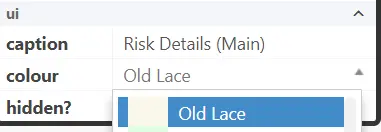
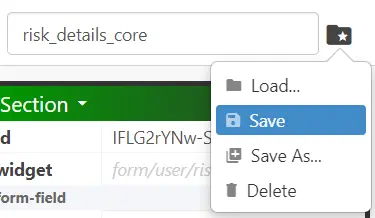
Then select the Widget Folder Icon at the top of the screen, and Select Save.
(You can also Save As and Create a New Named Widget if Required)
Loading an Updated Widget #
Updates to Widgets aren’t applied automatically, they require loading into the Widget,
Select the Component Form, top three dots and then Setup,

Select the Widget, and Setup again

This will then bring up the View Editor, Select the Widget Folder Icon and Load,
![]()
Navigate to the Widget in the Library (Either Directly or by Searching)

As we are loading the widget, simply select OK.

The Widget updates you made are now loaded into the Widget.

Saving a view (Do not select the Blue Save Icon) #
Once you’ve made your Widget View changes, if you’d like to save these,
Select the three dots at the top right, and then select Admin and Save,

Select your company-specific view from the list,

It is highly recommended you don’t save over generic views!
(If you don’t see any company-specific views, please follow: Creating Your Own Custom Views)
Once saved, Sign Out of Symbiant and log back in to ensure your view cache is cleared.

Deleting a Widget #
First, Select Setup on any View Component (Three Dots)

Select Add Widget,
![]()
Navigate to the Widget in the Library (Either Directly or by Searching) you’d want to Delete

To Delete the widget, simply select Configure.

The View Editor shall now be shown,
Select the Widget Folder Icon at the top of the screen, and Select Delete.
![]()
Select Yes, Ok on the Warning,
(Widgets are a version of System Presets, if you see any message stating “Preset” you are all good!)

A message shall appear at the top of the Screen, indicating the Widget has successfully been Deleted.


