 Doc Summary

This article shows you how to create a simple Word report that outputs data from a module.
Applies to: System administrators (
adminrole) · Module: Set up > Reports
Opening Reports #
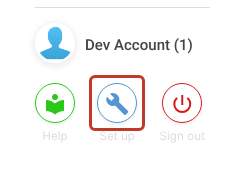
- Click the Set up spanner at the bottom left of the screen.
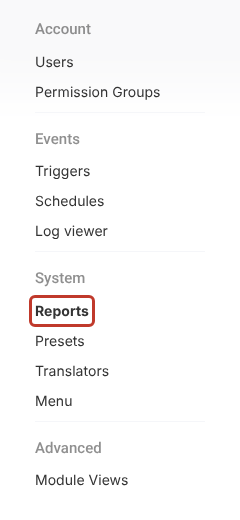
- Under System, click Reports.
- Click the + at the top right to start a new report.

Report Details #
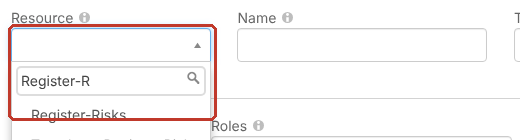
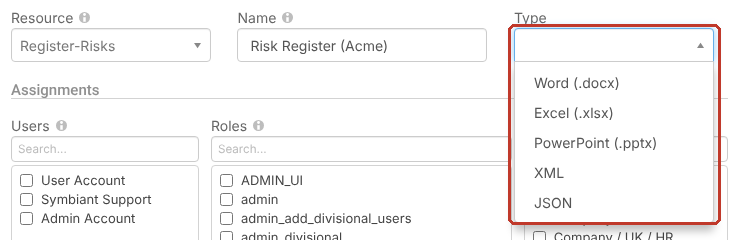
- In Resource, choose the module the report pulls data from, for example Register-Risks. Type to search the list.
- In Name, enter the report’s name as users will see it, for example
Risk Register (Acme).
- In Type, choose Word (.docx). The full list is Word (.docx), Excel (.xlsx), PowerPoint (.pptx), XML and JSON.
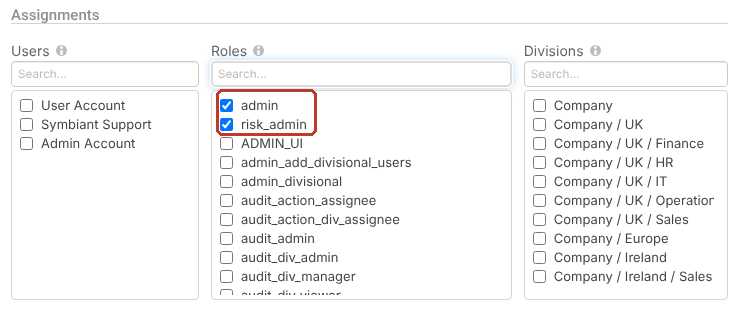
- Under Assignments, tick who can generate the report: users, roles and/or divisions. In this example, the admin and risk_admin roles. See Reporting Permissions.
Once a type is chosen, the Preferences panel on the right is where you set up the data and the template.
Adding a Graph Data Source #
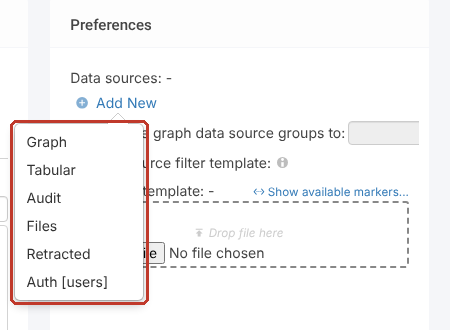
A data source decides which records and fields the report pulls. The types are:
- Graph: records with their linked data, where you tick the fields you want, including nested ones. The most common choice.
- Tabular: a flat list where you choose each column. See Creating an Excel Tabular Report.
- Audit: the history of changes to records. See Creating an Excel Audit Report.
- Retracted: records that have been deleted (archived).
- Auth [users]: all users with their roles and divisions.
- Files: files attached to records.
- Under Data sources, click Add New, then Graph.
- Replace the generated name with a short one, for example
rd(risk details). You’ll use it in every marker, so keep it short. Then click Graph… to choose the fields. The ✗ next to it turns into a ✓ once fields are chosen.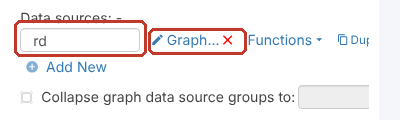
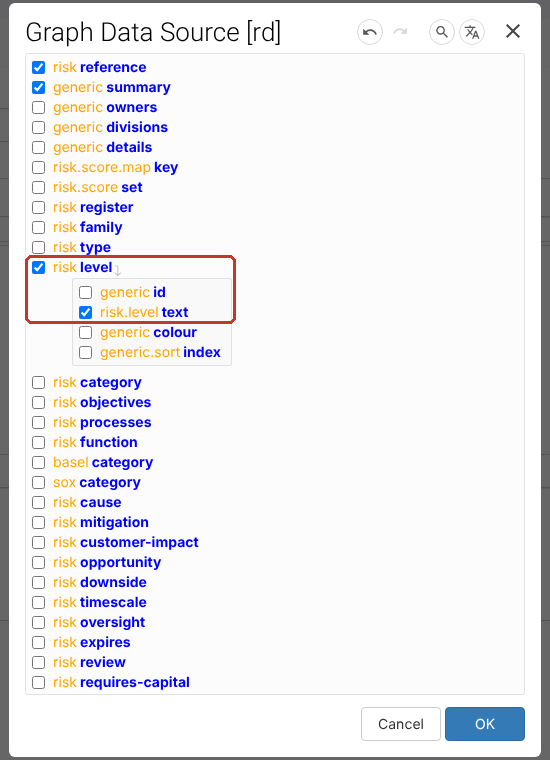
- Tick the fields you want. For drop-down fields such as Level, tick the field and then its text value underneath.
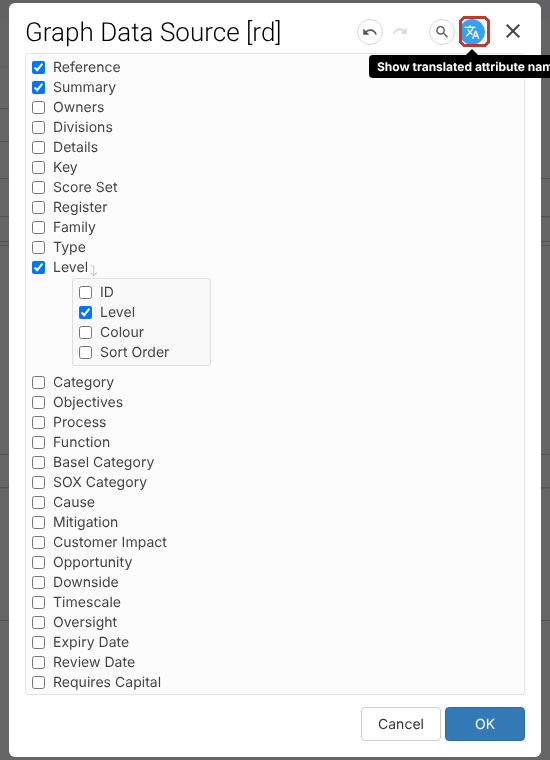
- To see friendly field names instead of system keys, click the Show translated attribute names icon at the top right.
- Click OK.
Getting the Markers #
Each ticked field becomes a marker you put in your template. Click Show available markers… above the document template to list them.
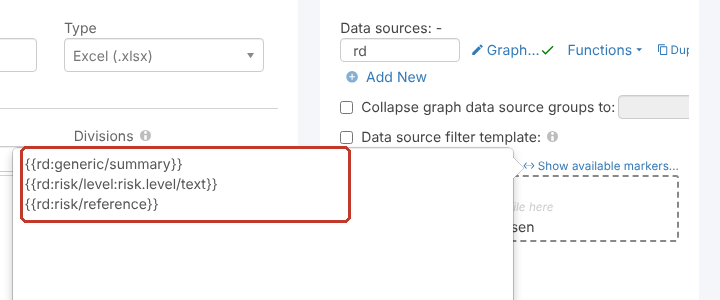
A marker is the data source name and the field key in double curly brackets, for example {{rd:risk/reference}}. Word templates can also use double square brackets, for example [[rd:risk/reference]].
Building the Word Template #
- In Word, lay out the report the way you want it, with headings and tables.
- Paste a marker wherever a value should appear.
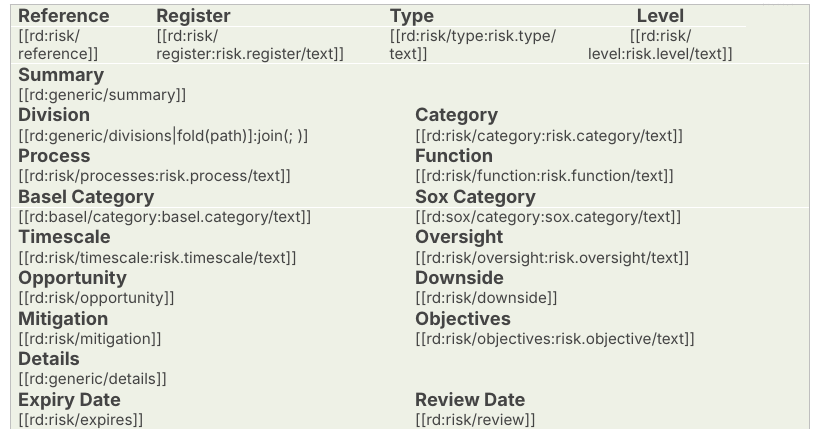
- Save the file as
.docx.
Tip: Download an existing report’s template (click its file name under Document template) and use it as a starting point. Repeating sections, such as a table of controls, are covered in Creating an Advanced Word Report.
Uploading the Template #
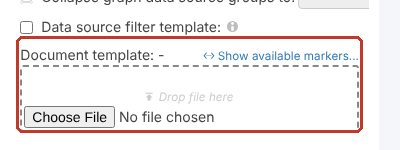
- Under Document template, click Choose File (or drag the file onto Drop file here) and pick your template.
- Click Save at the top right.

Generating the Report #
- Click the Set up button at the bottom left to leave Set up.
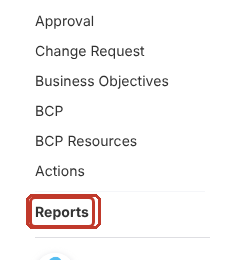
- Click Reports at the bottom of the menu on the left.
- Find the report (type part of its name in the Name filter) and click Generate. The file downloads to your computer.

Tip: Click Filter next to Generate to limit which records go into the report. See Advanced Filtering on Reports.
The Output #
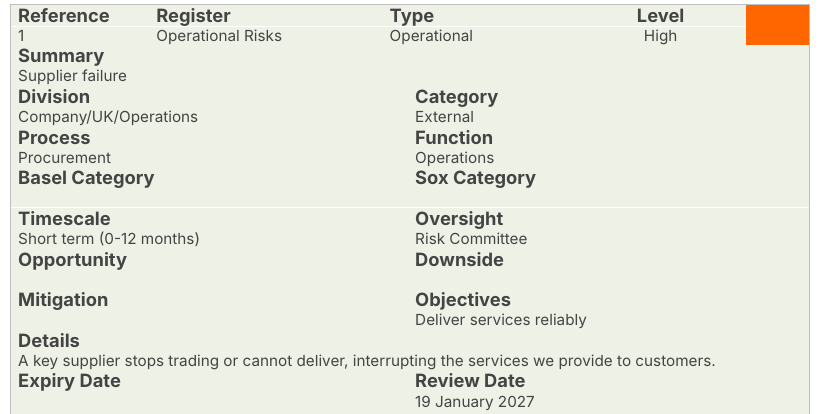
The markers are replaced by the record’s data.