
 Doc Summary

This article shows you how to build a trigger that sends an email when a record is deleted (retracted), including who deleted it.
Applies to: System administrators (
adminrole) · Module: Set up > Triggers
Before you start #
Shipped triggers such as register-risks-risk-deleted-generic arrive inactive and may only need activating.
Accessing Triggers #
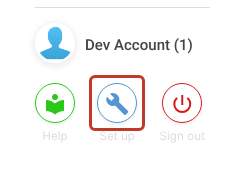
- Click the Set up spanner at the bottom left of the screen.
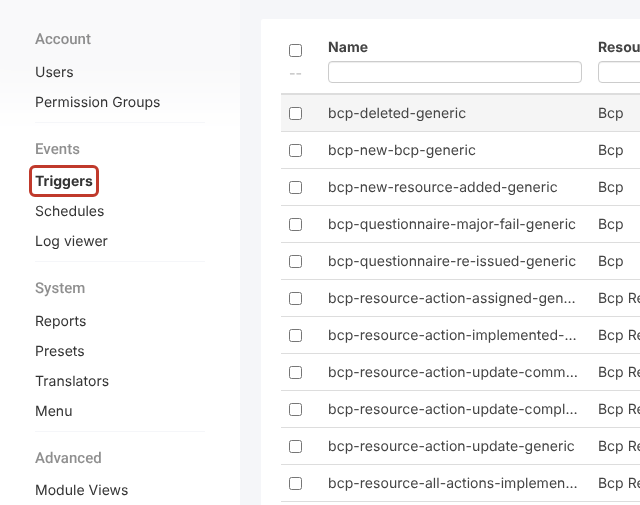
- In the Set up menu, under Events, click Triggers.
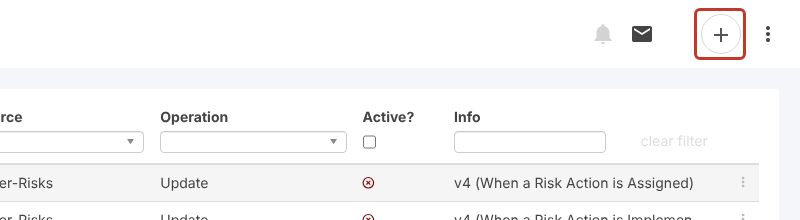
- Click the + icon at the top right.
Trigger Details #
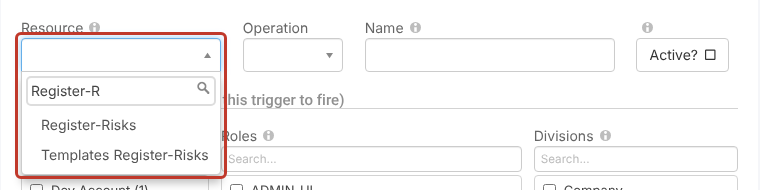
- In Resource, choose the module the email is about, for example Register-Risks. Type to search the list.
- In Operation, choose Delete.
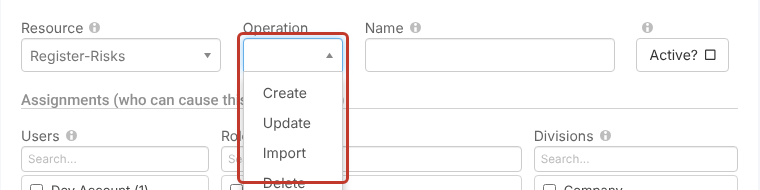
- In Name, enter a name with no spaces, for example
register-risks-risk-deleted-company. A good convention is module, what happens, then your company name.
- Leave Active? unticked while you build and test. See Activating and Deactivating an Automated Email.
Trigger Assignment #
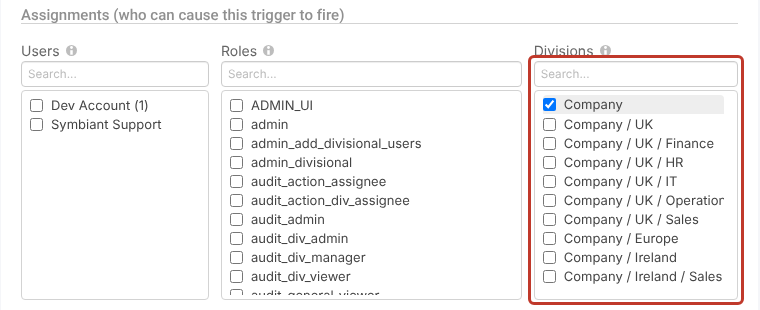
Assignments (who can cause this trigger to fire) controls whose actions fire the trigger. It is not the list of people who receive the email.
- Tick the users, roles and/or divisions whose changes should fire it. To cover everyone, tick the root division (for example Company): every user sits in it or a division below it.
The Function Chain #
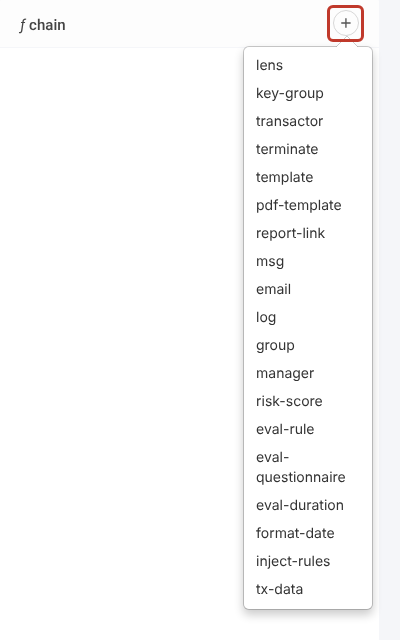
The ƒ chain panel on the right holds the steps (interceptors) the trigger runs, from top to bottom. Each interceptor can use the output of the ones above it through its Data source.
- To add an interceptor, click the + at the top of the ƒ chain panel and pick it from the list. It is added at the bottom of the chain.
- To remove one, click the − at the top right of its card.
Adding the tx-entity Interceptor #
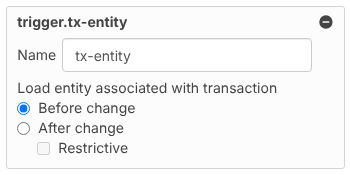
- Add a tx-entity interceptor.
- Choose Before change: after a delete there is no record left to load, so load it as it was before.
Adding the Manager Interceptor (Optional) #
Use a manager interceptor when the email should go to users with a particular role, such as the module admins. Emails to the record’s owners, creator or assignees don’t need one.
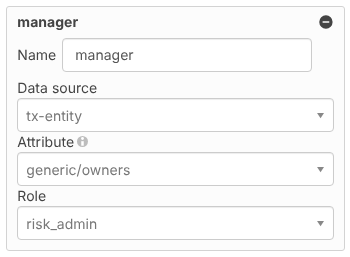
- Add a manager interceptor.
- Data source: the interceptor above it (here tx-entity).
- Attribute: the user field to look through, usually generic/owners.
- Role: the role to send to, for example risk_admin. Add one manager interceptor per role.
Critical: Don’t choose the plain
adminrole. Choose the module role (for examplerisk_admin) and give that role to any admins who should get the email. See How to Receive Module Specific Emails as System Admin.
Adding the tx-user Interceptor #
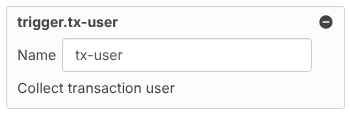
The tx-user interceptor collects the user who made the change, so the email can say who deleted the record.
- Add a tx-user interceptor.
- In the template, use
{{<tx-user}}{{sm.user/name}}{{>tx-user}}for their name and{{<tx-user}}{{sm.user/email}}{{>tx-user}}for their email.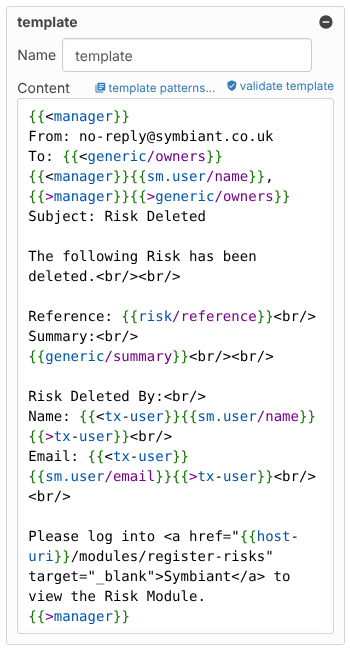
Adding the Template Interceptor #
The template is the email itself: who it is from and to, the subject and the body.
- Add a template interceptor.
- Write the email in Content in this order:
From:,To:, optionalCc:andBcc:,Subject:, a blank line, then the body.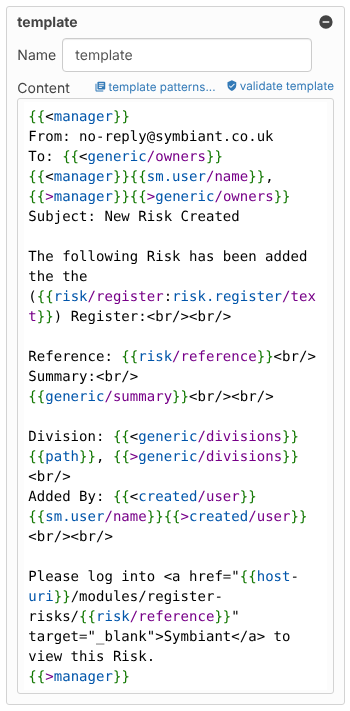
- For From:, use the no-reply address shown in the shipped templates (
[email protected]) rather than a person’s address. - For To: and Cc:, use user names, email addresses, or recipient codes. The table below lists the common codes.
| Send to | Code |
|---|---|
| Record owners | {{<generic/owners}}{{sm.user/name}}, {{>generic/owners}} |
| Record creator | {{<created/user}}{{sm.user/name}}, {{>created/user}} |
| Last person to change the record | {{<modified/user}}{{sm.user/name}}, {{>modified/user}} |
| Users with the manager interceptor’s role | {{<generic/owners}}{{<manager}}{{sm.user/name}}, {{>manager}}{{>generic/owners}} |
The code works as a block: {{<generic/owners}} opens the Owners field, {{sm.user/name}} picks out each user, and {{>generic/owners}} closes the block. When a manager interceptor is used, wrap the whole content in {{<manager}} at the top and {{>manager}} at the bottom, as in the shipped templates.
- Add record data to the subject or body with markers such as
{{risk/reference}}and{{generic/summary}}. Click template patterns… above the content, then the Text Markers tab, for the marker syntax.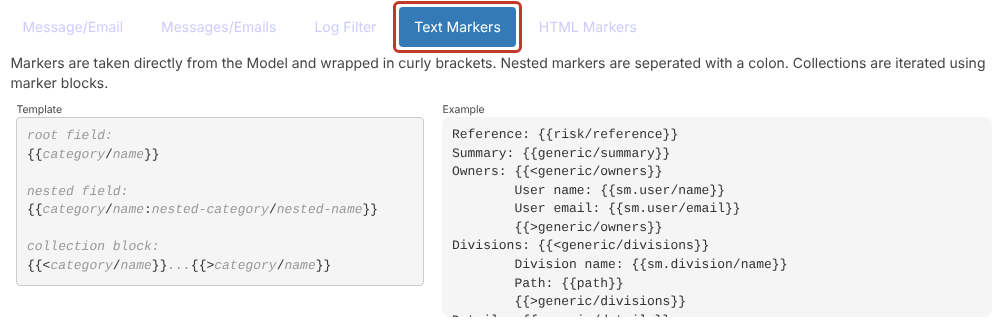
- Click validate template to check the template before saving.
Note: Field keys such as
risk/referenceare the same keys shown in the tx-check Contains? list and in Set up > Translators.
Adding the Email Interceptor #
- Add an email interceptor.
- In Send Email, choose your template.
- In Send as, choose HTML (lets you use
<br/>for line breaks and<b>text</b>for bold) or plain text.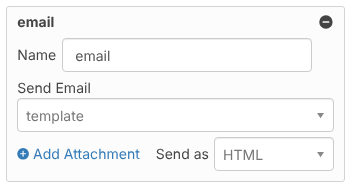
Adding the Log Interceptor #
- Add a log interceptor, set Log to Emails, enter a Log Group (for example
Register-Risks) and choose your template in Info line template.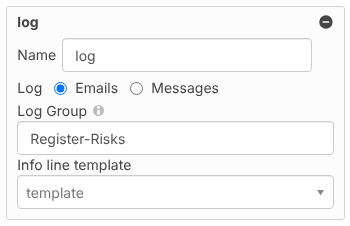
Critical: Don’t use spaces in the Log Group name. Use dashes instead.
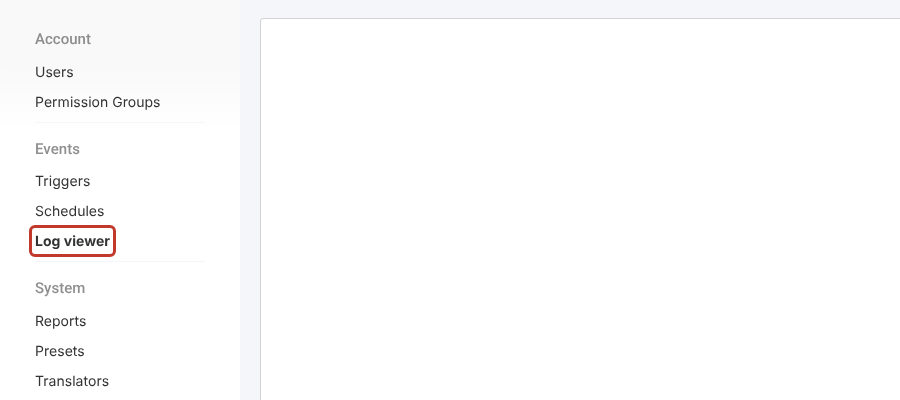
Sent emails then appear in Set up > Log viewer under that group.
Saving and Testing #
- Click Save at the top right.

- Tick Active? and save again when you’re ready to test (see Activating and Deactivating an Automated Email).
- Delete a test record in the module. You can restore it afterwards with ⋮ > Restore.
- Check Set up > Log viewer for the log entry.
Critical: An active trigger sends real emails to real users. Test with a test record, and check the recipients before activating.