
 Doc Summary

This article shows you how to add a column to an existing Excel report, for example a Category column on a risk register.
Applies to: System administrators (
adminrole) · Module: Set up > Reports
Opening the Report #
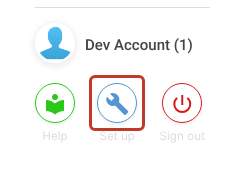
- Click the Set up spanner at the bottom left of the screen.
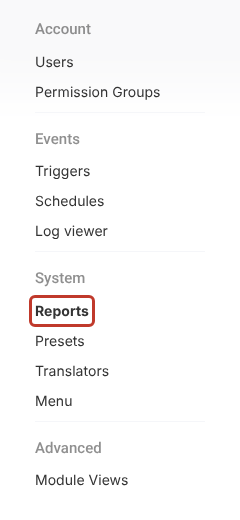
- Under System, click Reports.
- Type part of the name in the Name filter and click the report.
Adding the Field to the Data Source #
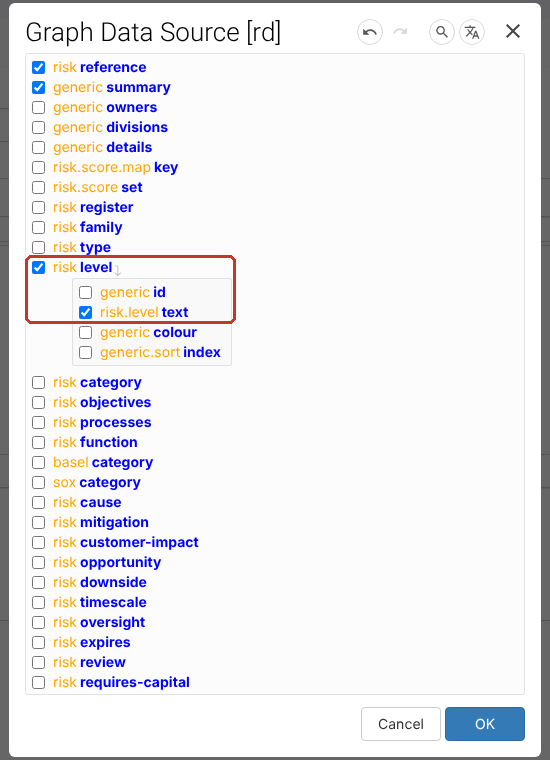
- Click Graph… next to the data source.
- Tick the new field. For a drop-down, tick the field and its text value underneath, as shown here for Level. Click Show translated attribute names at the top right if the keys are hard to read.
- Click OK.
Getting the New Marker #
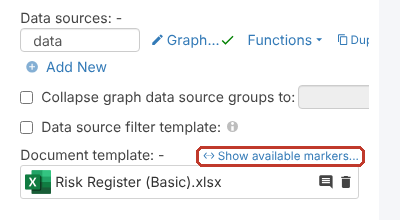
Click Show available markers… and copy the new marker, for example {{data:risk/category:risk.category/text}}.
Updating the Template #
- Click the template’s file name under Document template to download it.
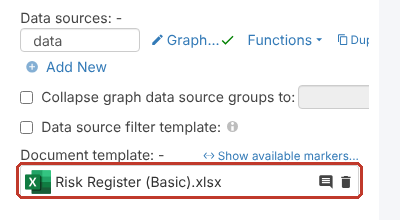
- Open it in Excel. Add the column heading, and paste the marker in the row underneath.

- Save the file.
Replacing the Template #
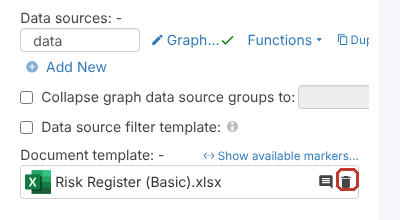
- Click the bin icon next to the old template to remove it.
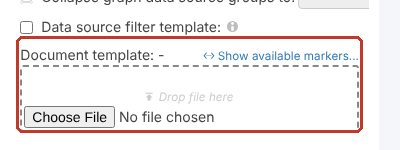
- Click Choose File and pick your updated template.
- Click Save at the top right.

Generating the Report #
- Click the Set up button at the bottom left to leave Set up.
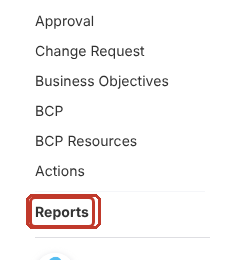
- Click Reports at the bottom of the menu on the left.
- Find the report (type part of its name in the Name filter) and click Generate. The file downloads to your computer.

Tip: Click Filter next to Generate to limit which records go into the report. See Advanced Filtering on Reports.