
 Doc Summary

Widgets are reusable pieces of a view, such as a section of fields, that you save to a library and add to other views. This article shows you how to create, add and remove them.
Applies to: System administrators (
adminrole) · Module: any module view (the example uses Register Risks)
Creating a Widget #
In this example we make a widget from the second section of the New Risk form (Summary, Divisions, Family and so on).
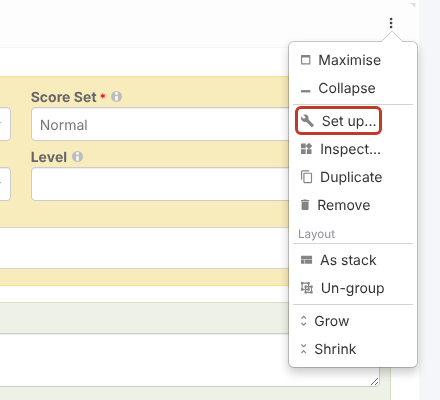
- Click the ⋮ at the top right of the form, then Set up….
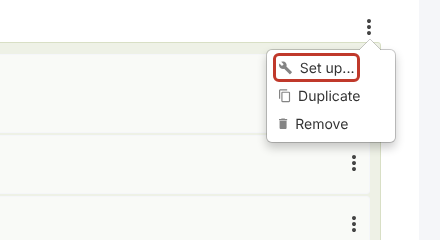
- Click the ⋮ of the section you want to reuse, then Set up….
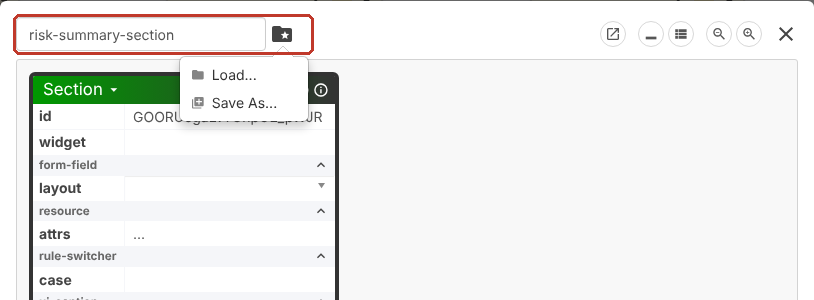
- At the top of the panel, type a name in the Widget name box. Don’t use spaces: use dashes or underscores, for example
risk-summary-section. - Click the folder icon next to the name, then Save As…. Check the name and folder, then save.
Adding a Widget to a View #
- Open the view and load your company-specific view (see Creating Your Own Custom Views).
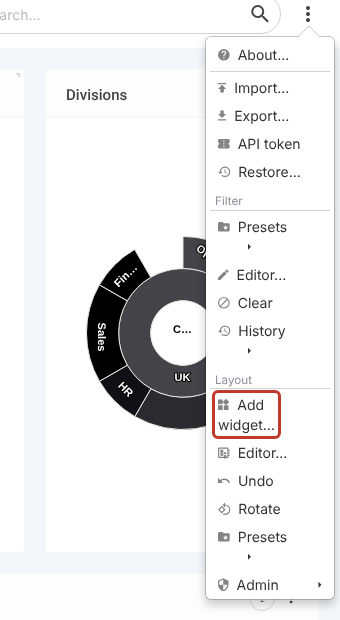
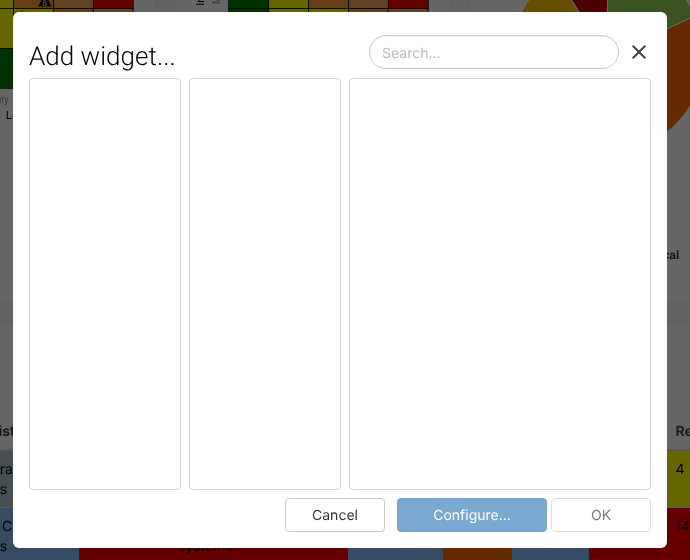
- Click the ⋮ at the top right of the screen, then Add widget… under Layout.
- Find the widget in the library, either by browsing the folders or with the Search box, and click it.
- Click OK to add it to the view. Configure… opens the widget in the editor instead.
- Move the widget into place and save the view. See Editing a View.
Note: A new site’s widget library is empty until someone saves a widget.
Updating or Deleting a Widget #
- Open Add widget…, click the widget, then click Configure… to open it in the editor.
- Make your changes and save it again with the folder icon, or use the folder icon’s options to delete it.
Note: Changing a widget in the library doesn’t change copies already added to views. Add the widget again to pick up the new version.