
 Doc Summary

How to add a new control to the Controls register. Requires the Controls module.
Applies to: Users who can create controls · Module: Controls
Opening a New Control #
Select Controls in the left-hand menu, then the plus icon at the top right.
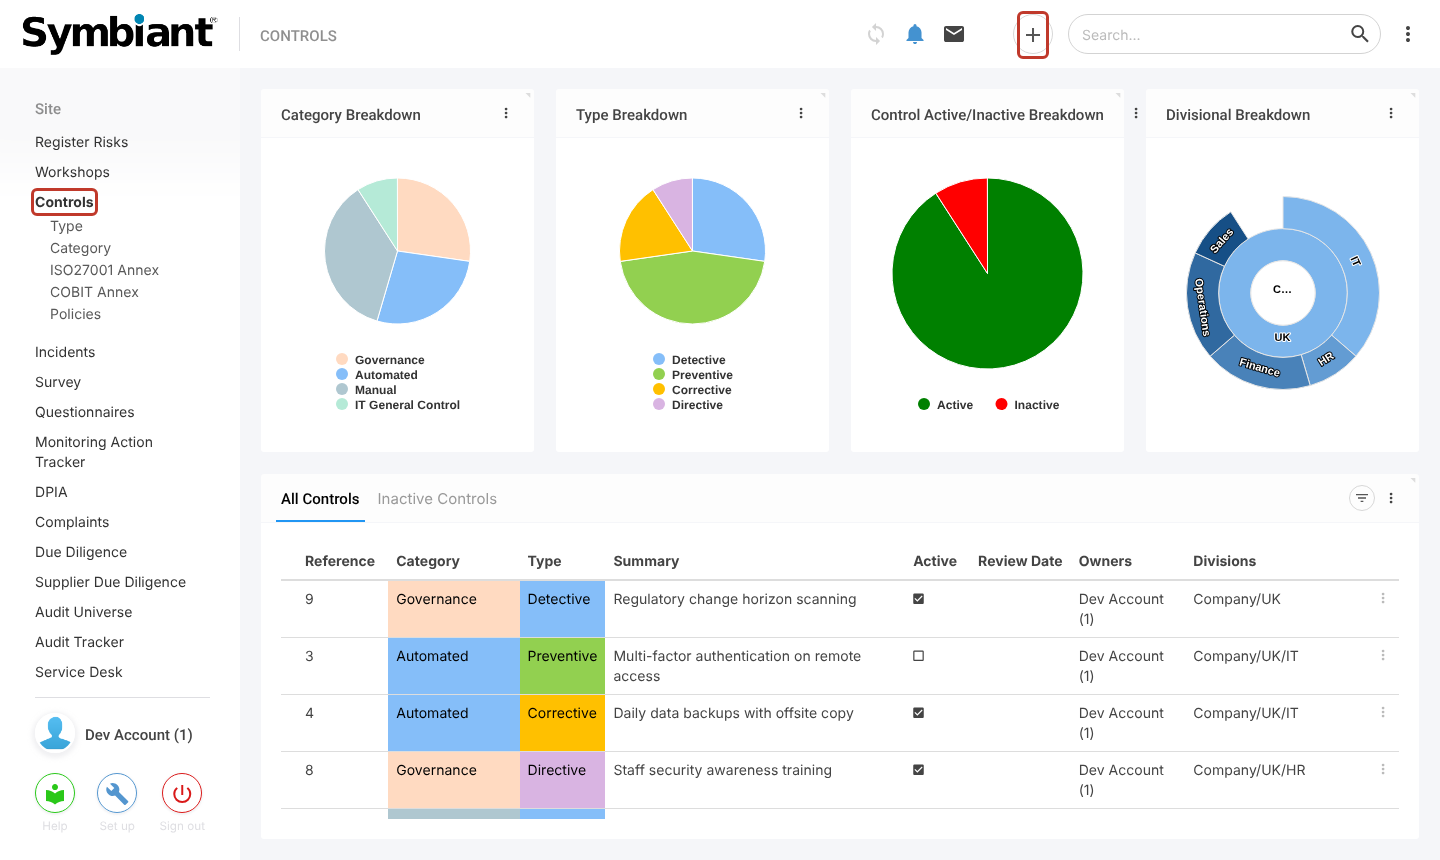
Filling in the Control #
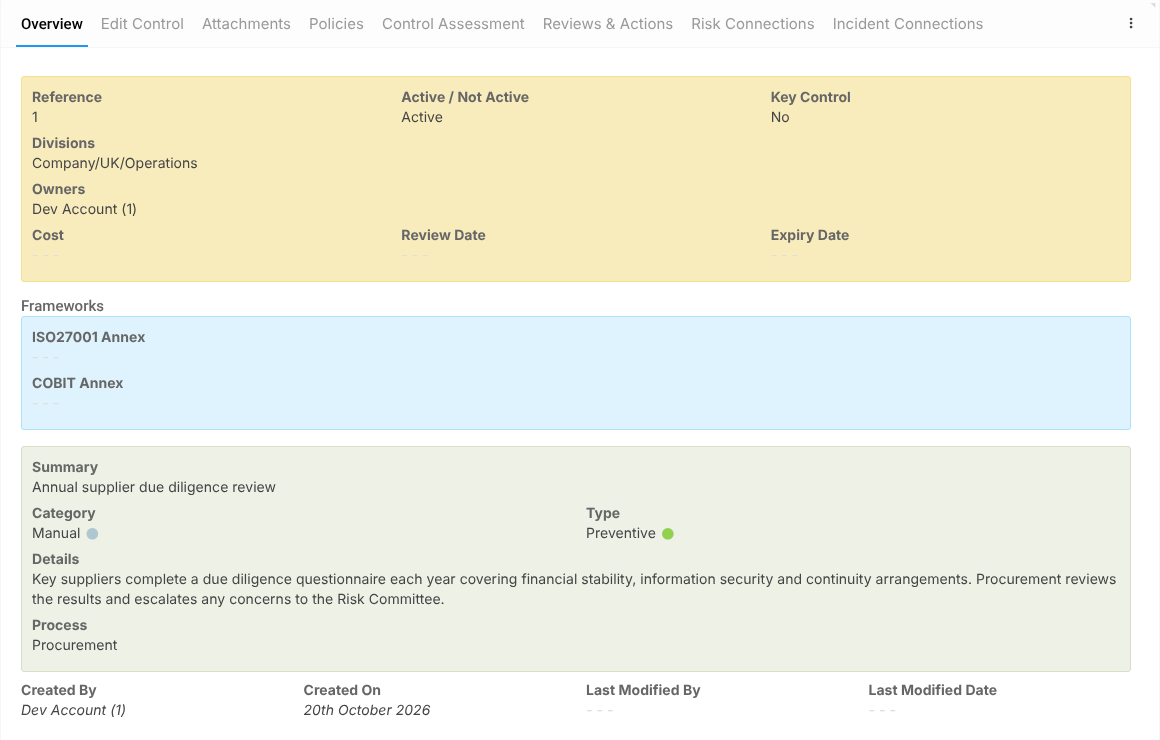
The top section holds the control’s status and ownership.
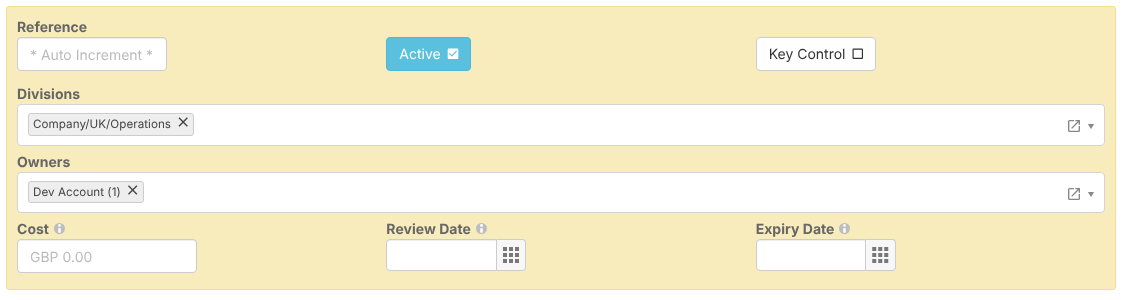
- Reference is filled in automatically when you save.
- Active is ticked by default. Untick it for a control that is not yet operating. See Activating/Deactivating a Control.
- Tick Key Control for controls you rely on most.
- Owners are the people responsible for operating the control. You are added by default.
- Cost, Review Date and Expiry Date are optional.
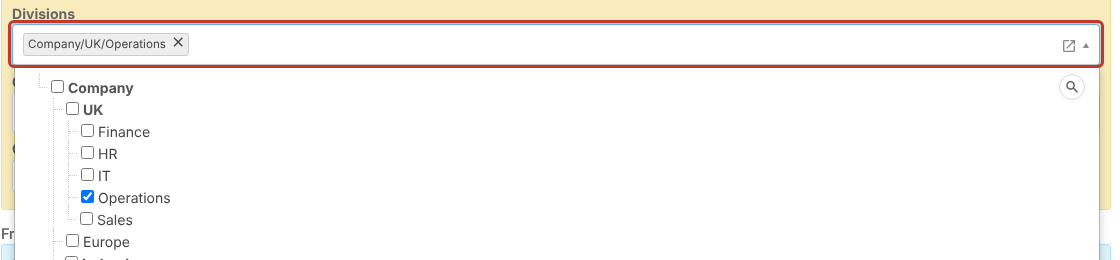
Select the Divisions the control belongs to. Open the list, expand the tree and tick the division. Users with divisional roles only see controls in their own divisions.
In the lower section, enter a short Summary (required) and a fuller description in Details. Choose the Category (for example Manual or Automated) and Type (for example Preventive or Detective), and tick the Process it supports.
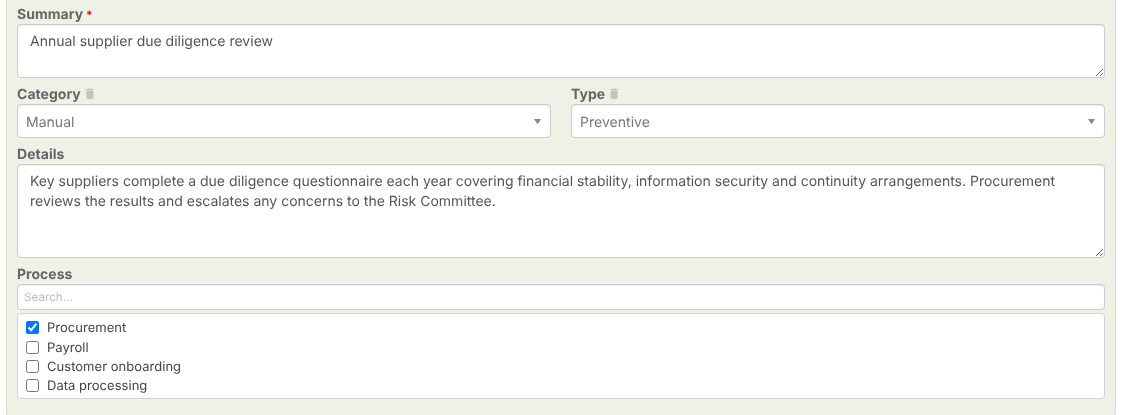
Note: The fields and drop-down values on your site may differ. Administrators set the lists under Controls > Type and Category in the left-hand menu.
Saving the Control #
Select Save at the top right.

The control opens on its Overview tab with its new reference number. The other tabs let you add attachments, link policies, set up a control assessment, and see the risks and incidents it is connected to.
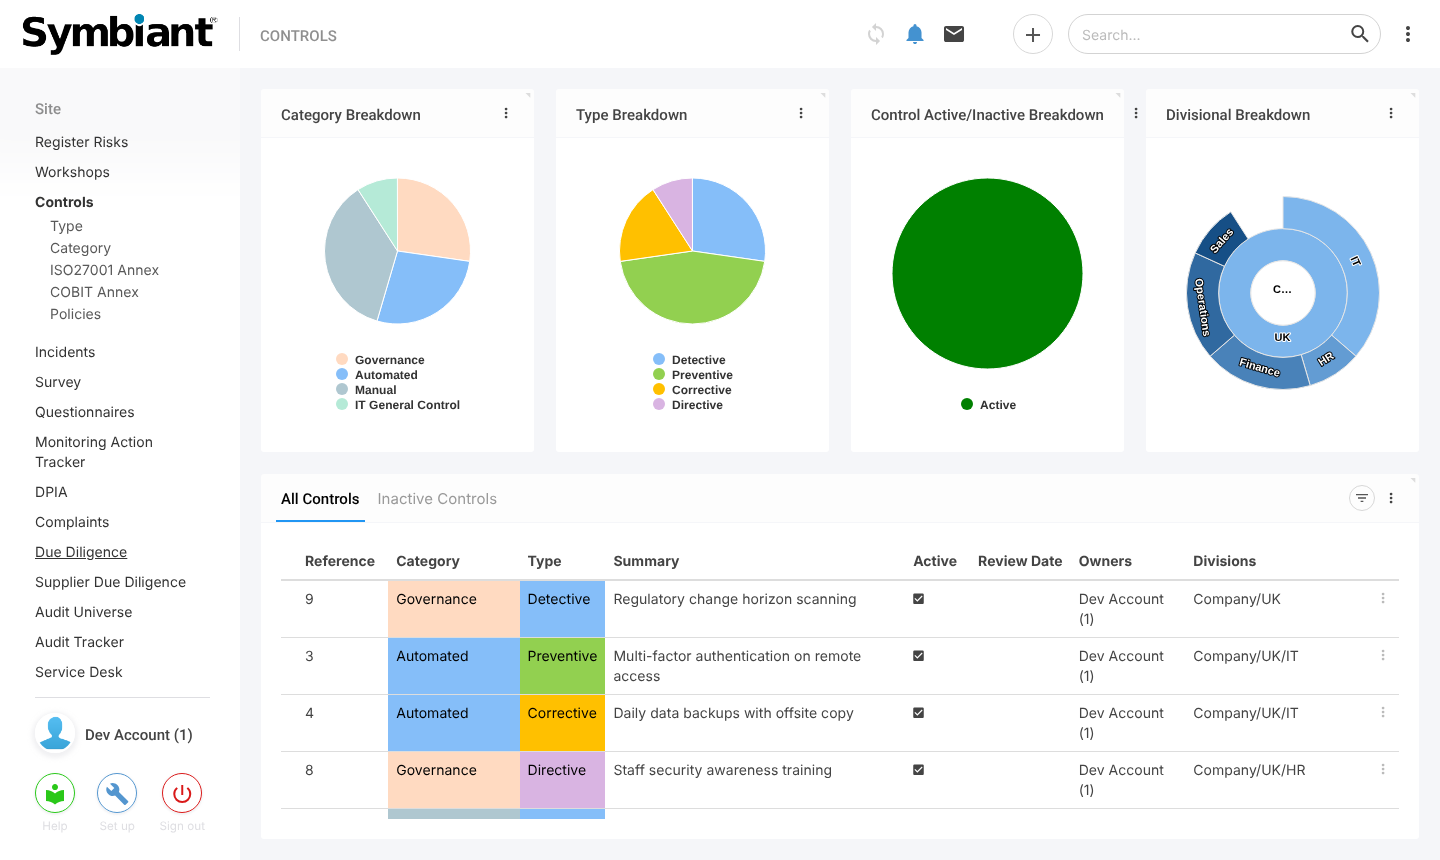
The control also appears on the Controls dashboard.
Next Steps #
- Link the control to the risks it reduces: Attaching a Control to a Risk.
- Link the policies it enforces: Attaching a Policy to a Control.
- Check it is working: Control Assessments.